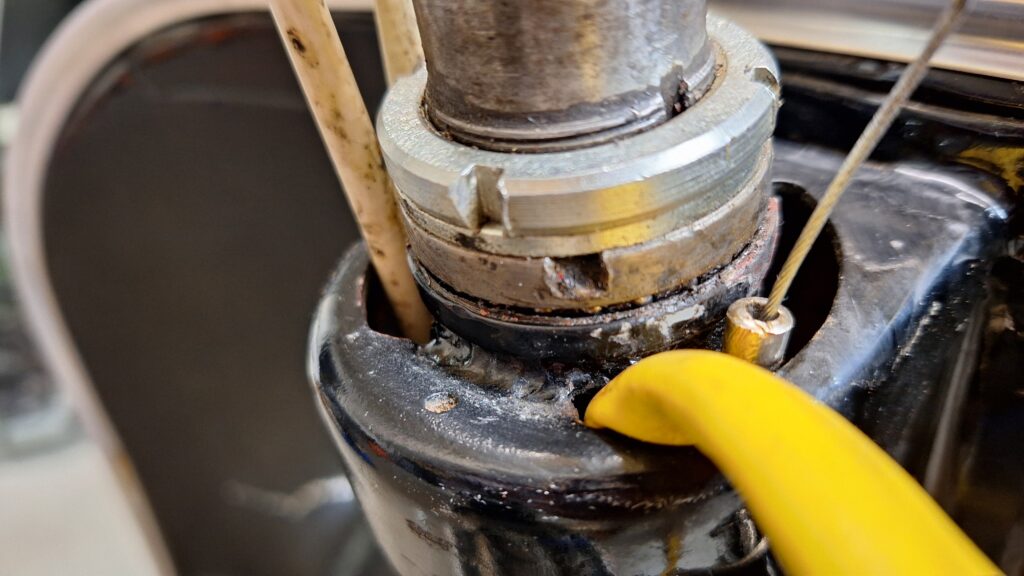
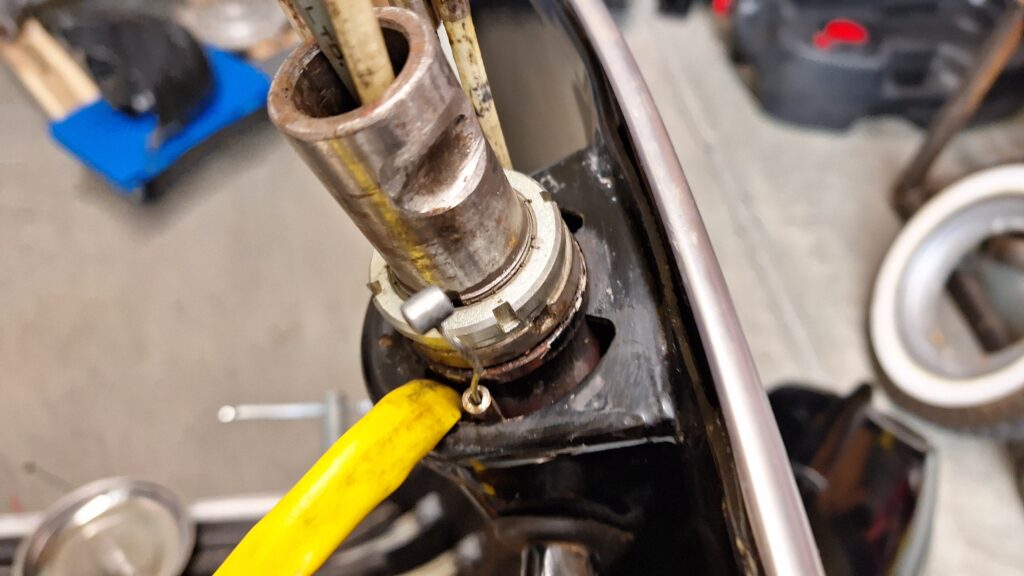
Throttle and Shift Tube Removal
Well, one of many strikes here. I got so involved (and greasy) during the removal process and trying to understand how everything went together that I forgot to take pictures. I suppose a video would be an option – press record and just start working, but that is not happening this time around. I don’t want to see myself squinting or making funny faces while I mentally process everything. Trust me, you don’t either.
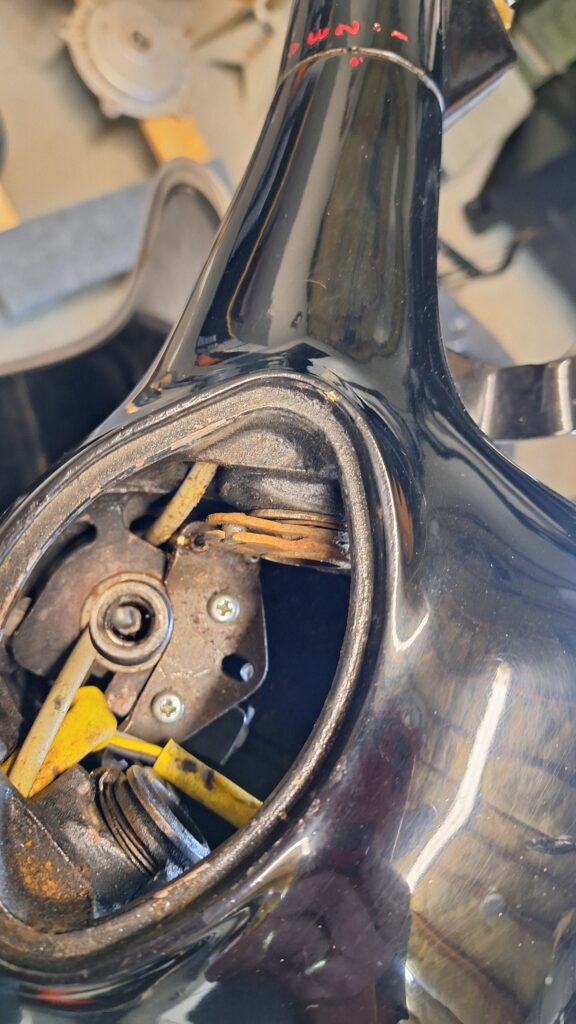
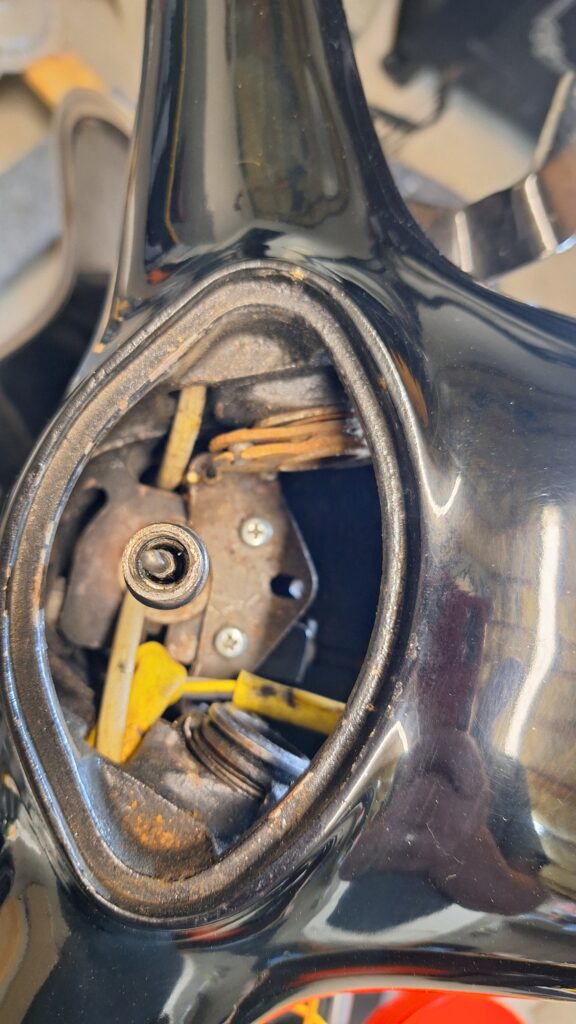
Headstock Removal
One bolt and she let loose. Biggest thing here is to document the order of the castle nuts and washers on the downtube, as well as the layout cables and electrical.
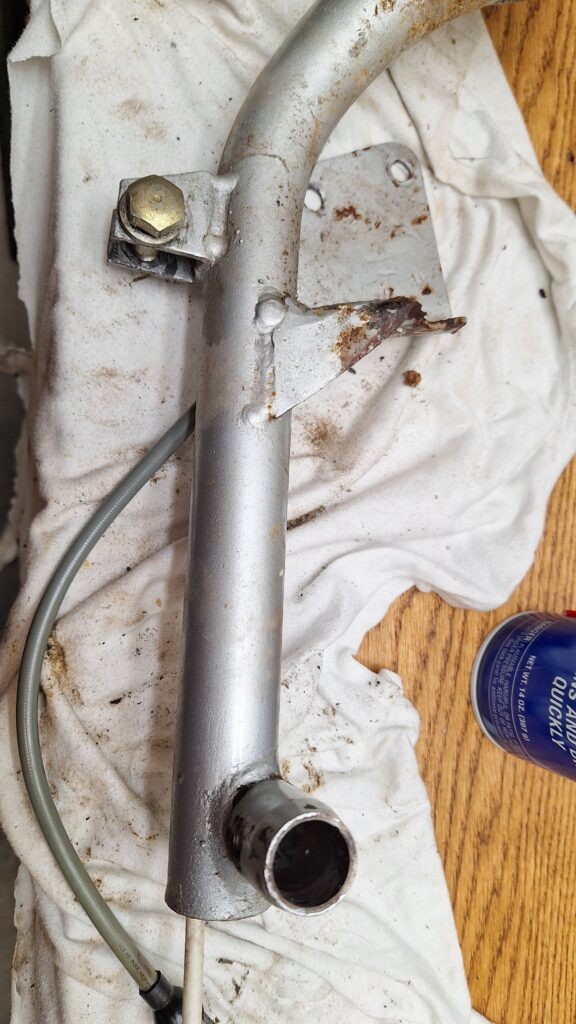
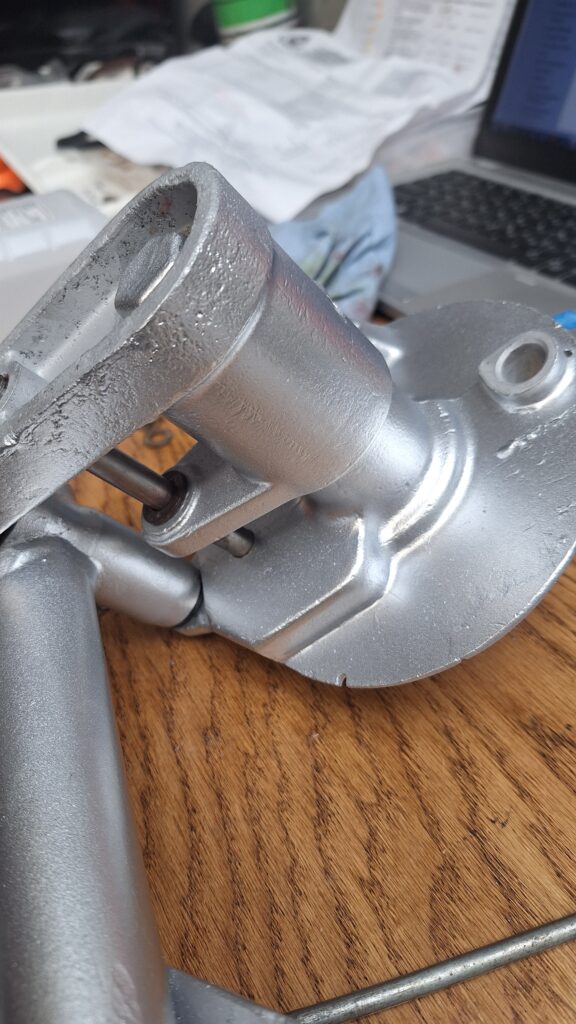
Dropping the Steering Arm
Once the castle nuts are removed, gravity will pull the steering arm down through the center of the bearing races and off the body. Note for those of you doing this at home…don’t forget about Newton’s third law. For every action there is an equal and opposite reaction. The sudden lack of weight on the front of the scooter due to the removal of the steering arm, hub, brakes, etc. causes the frame to flip back on its butt. Be ready!! (I was not.)
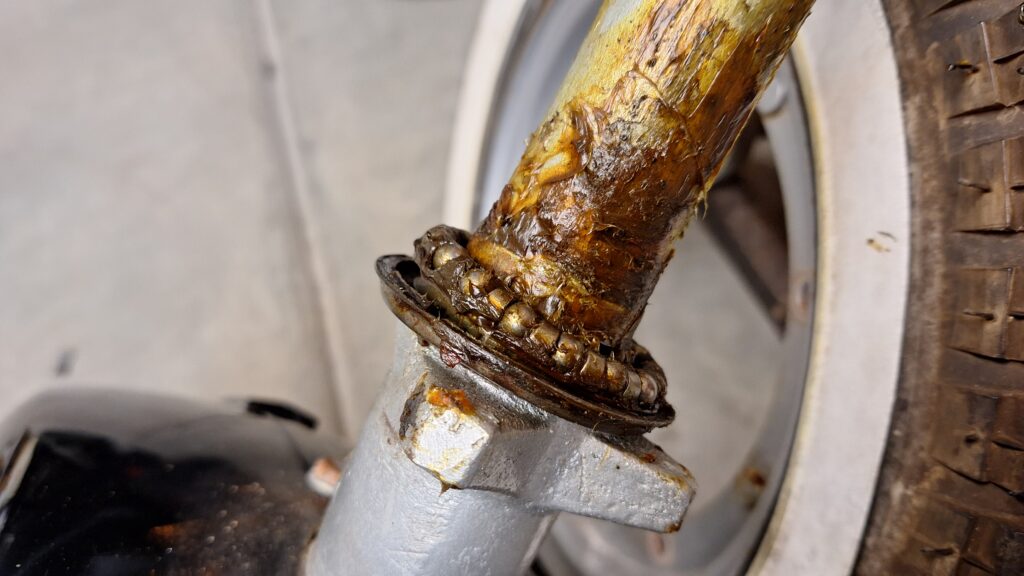
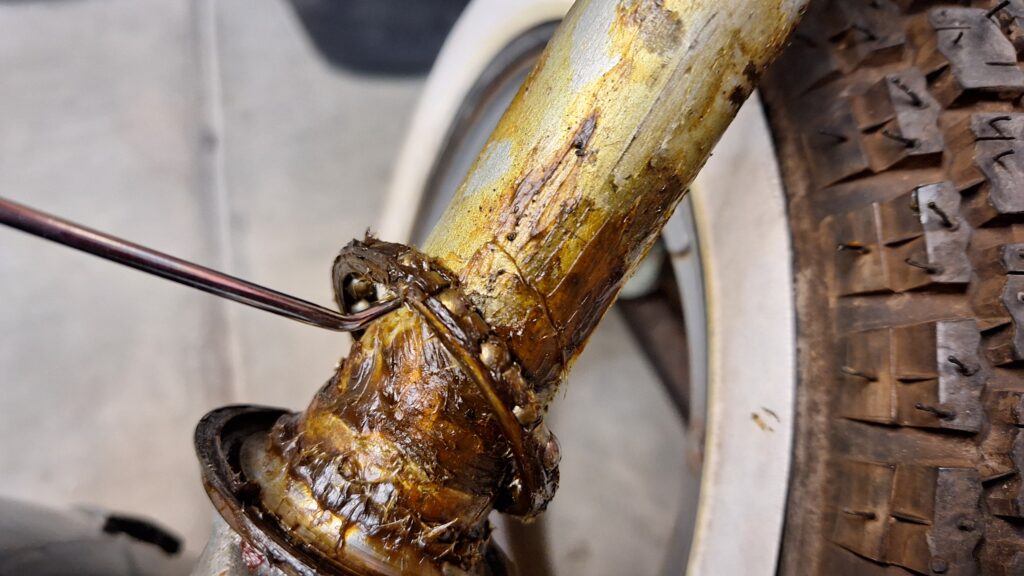
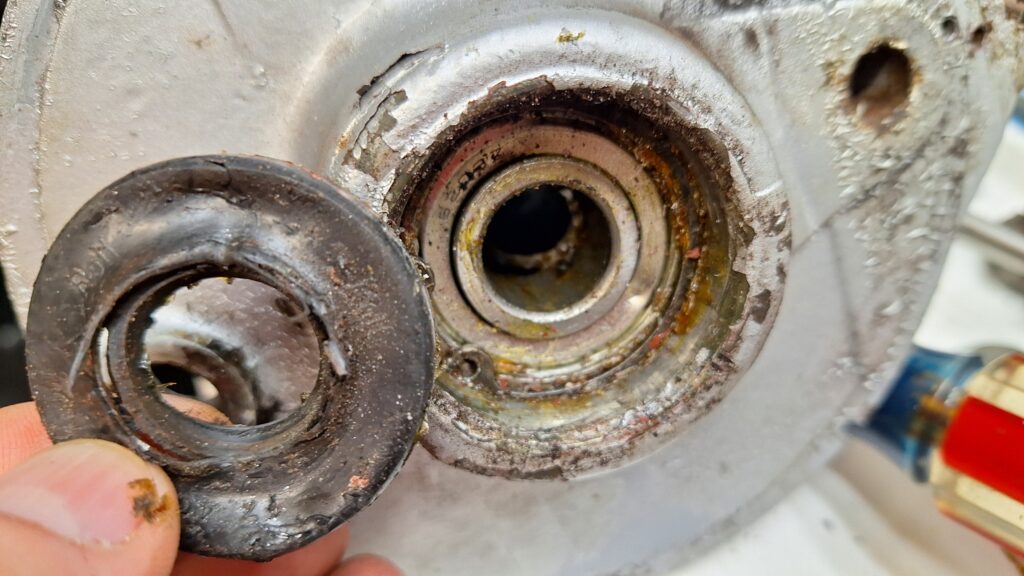
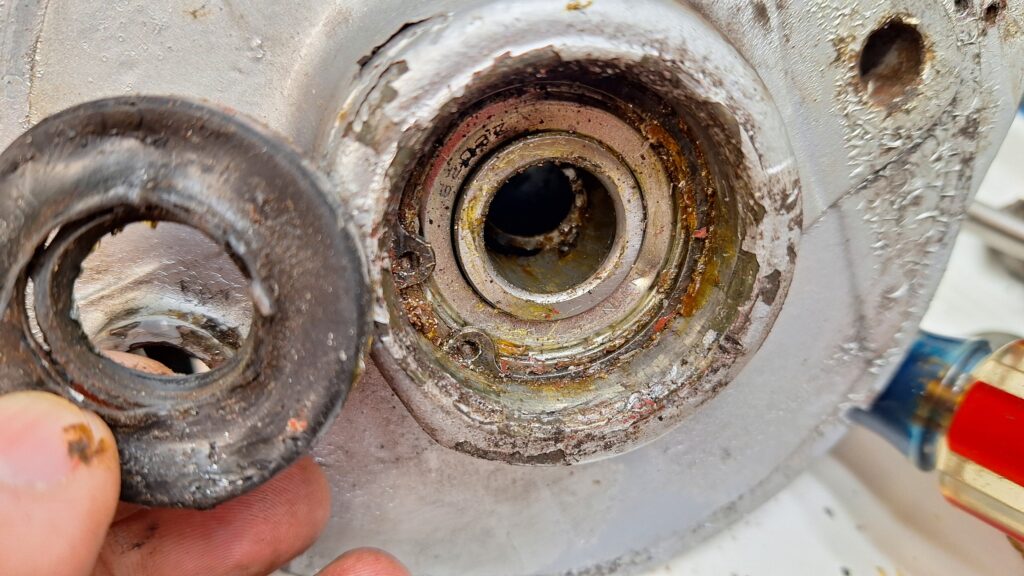
Here are a few images of the crusty, dry grease on the lower bearings. The lower bearing seat has to be drifted free of the downtube to allow the front mud guard to be removed. It is a friction or “interference” fit, so gentle tapping under the race with a drift will easily loosen it.
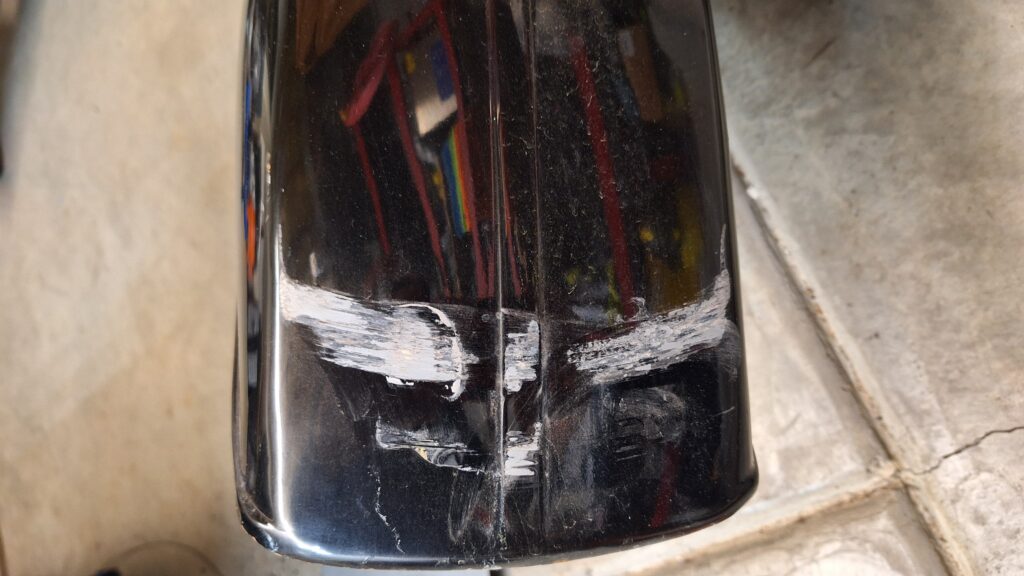
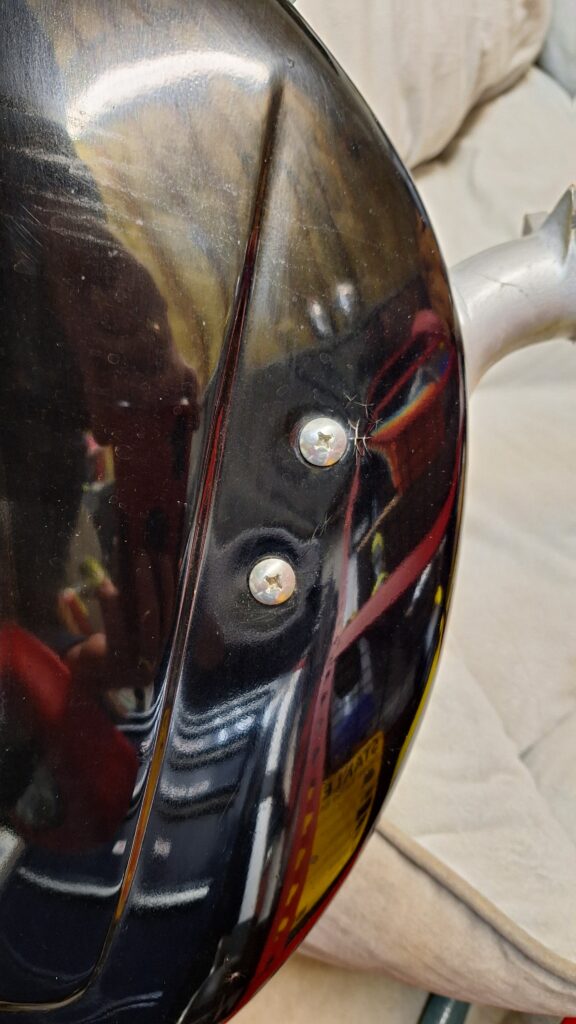
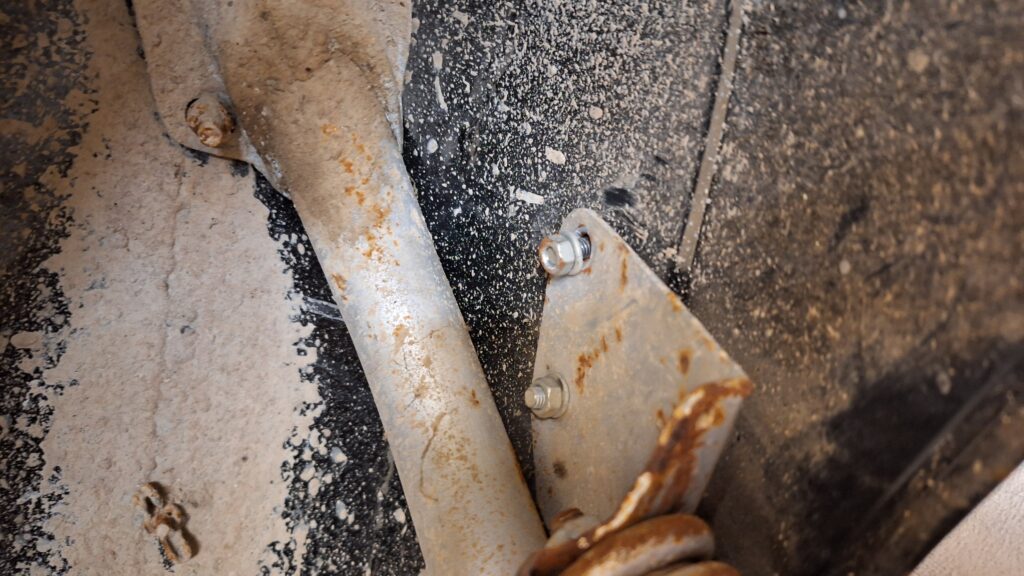
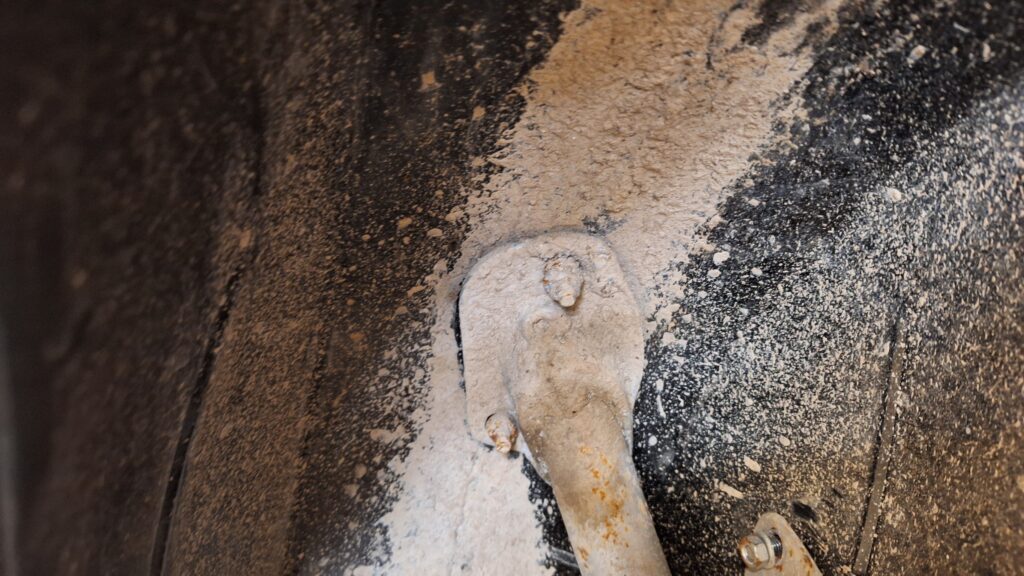
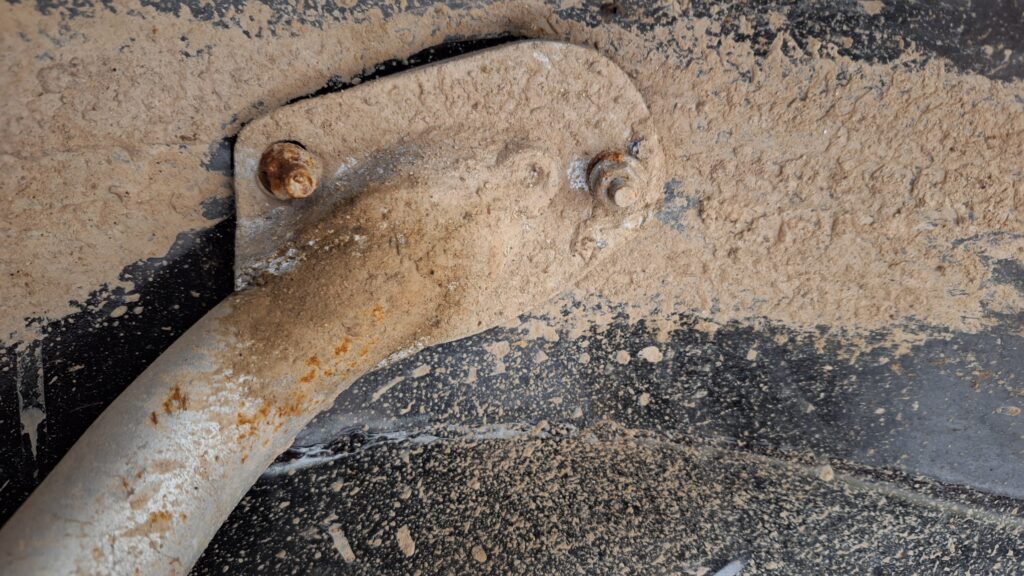
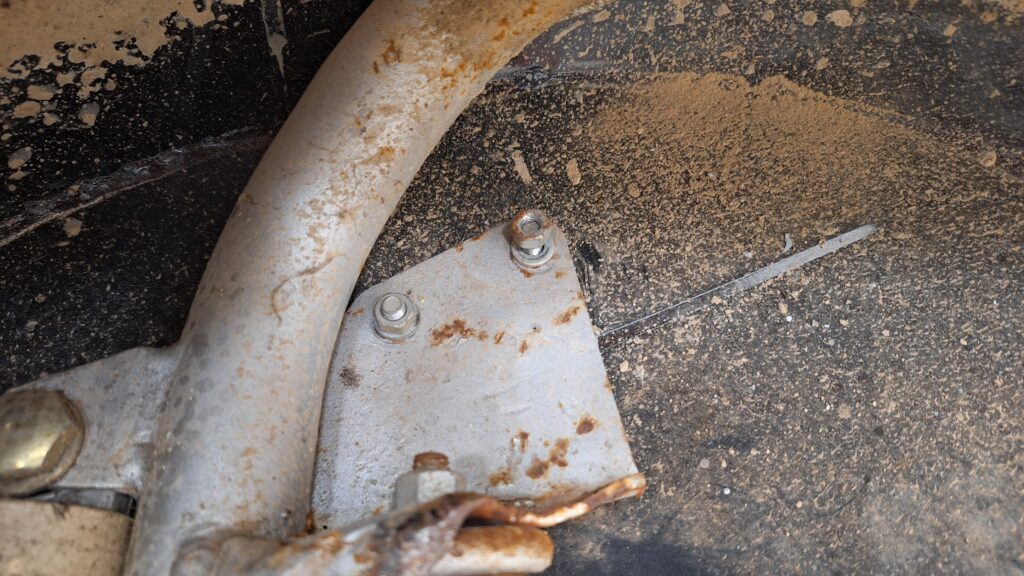
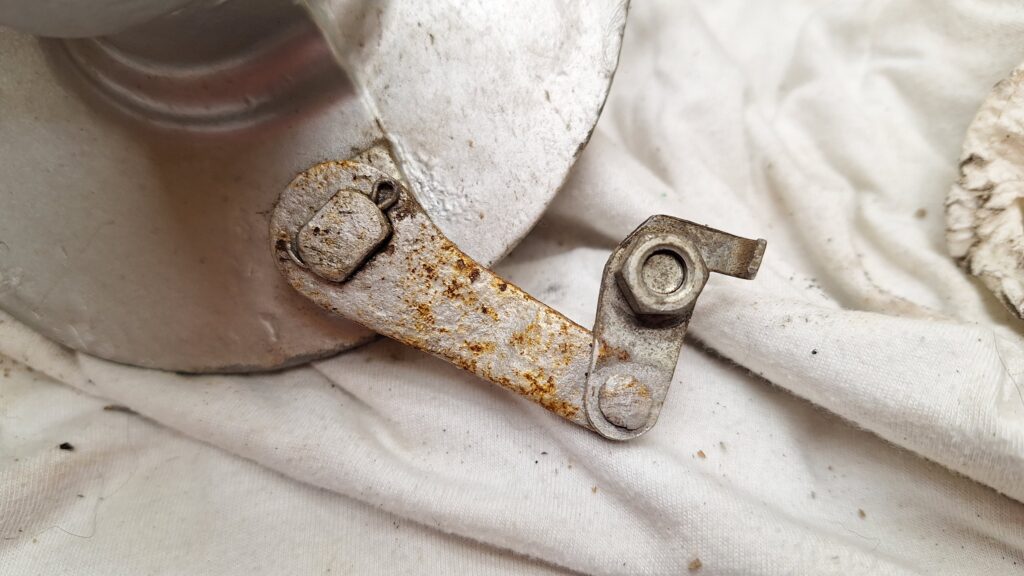
I took a few photos of the screws, nuts and bolts holding the mud guard to the steering arm for reassembly purposes. You can see a bit of white/chalky paint on the mud guard that is the result of it rubbing on a blown out rusty patch on the frame.
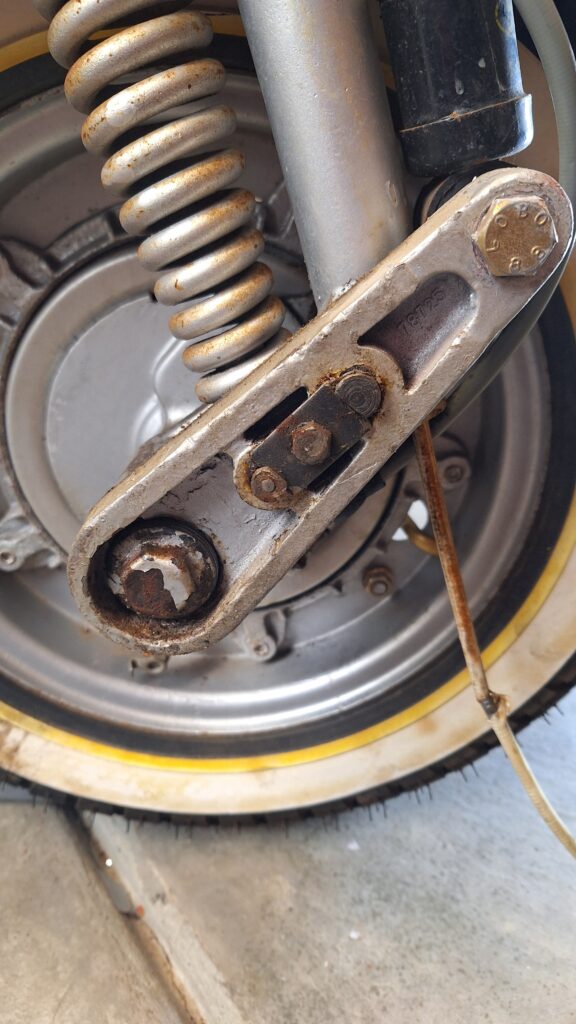
Front Brakes and Axle
Got to get greasy again. No sponsors here and not looking for them, but GoJo or Zep Original Orange hand cleaner is amazing stuff. (Pro Tip: Turn the water on, but keep your hands dry. Work the cleaner into your hands until the grease has been removed. NOW, rinse your hands and then turn off the water. The stuff works better on dry hands.)
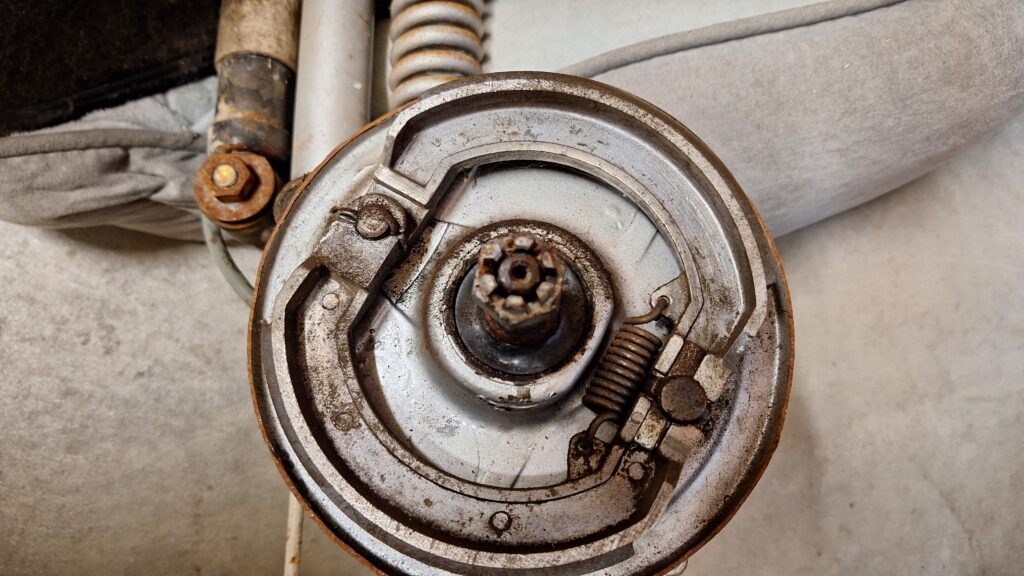
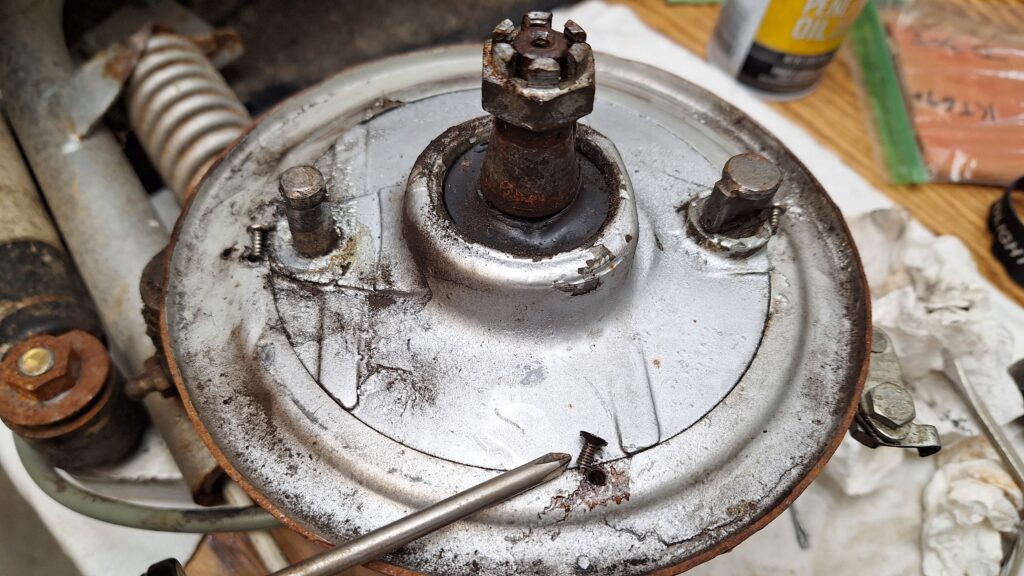
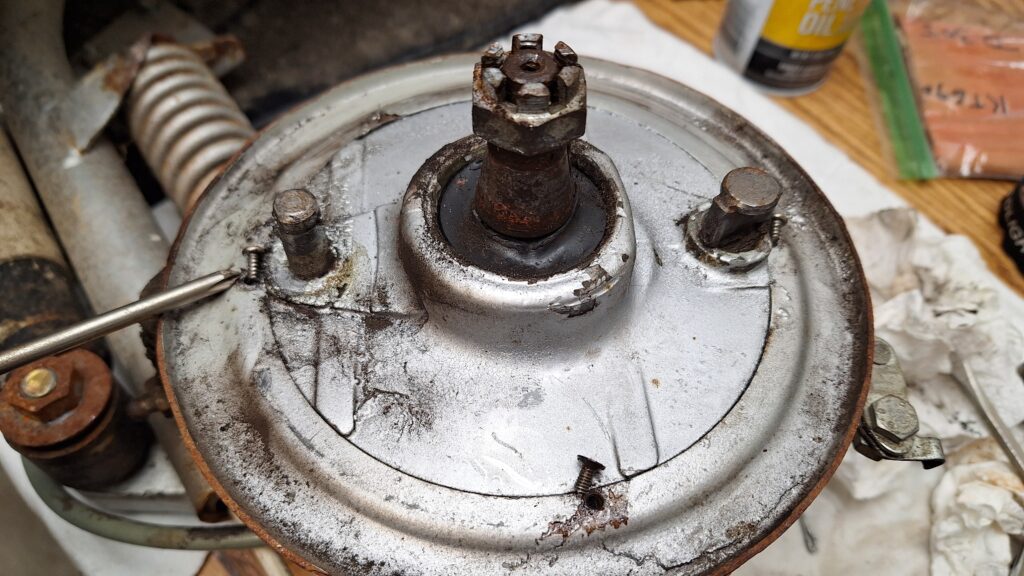
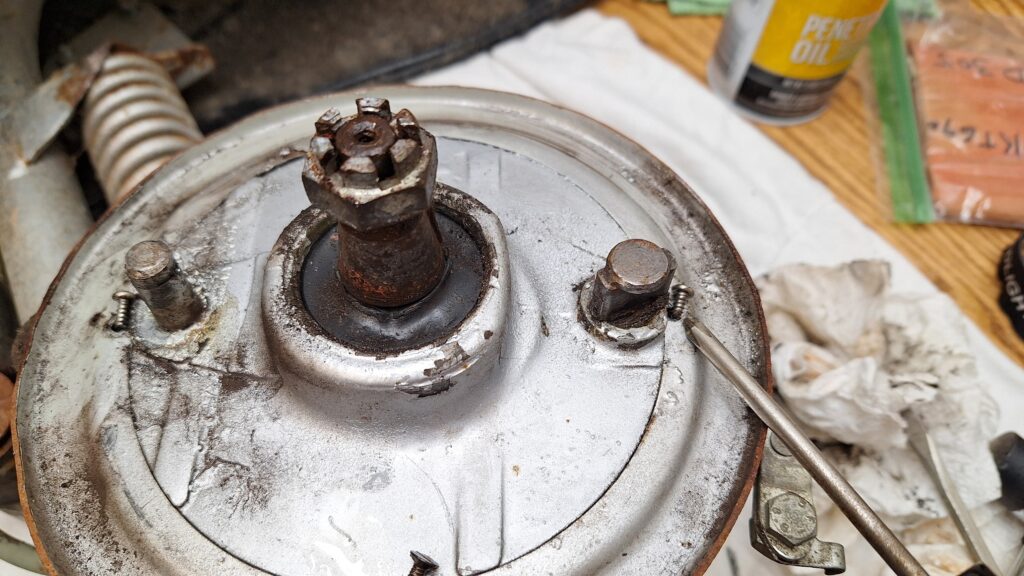
I wasn’t quite sure where to start here, so I squirted some penetrating oil on the rusty bits and examined the hub to see where to start. The brake pads were an easy target, so I pulled them off and then removed the dust shield – 3 tiny (and mismatched) screws.
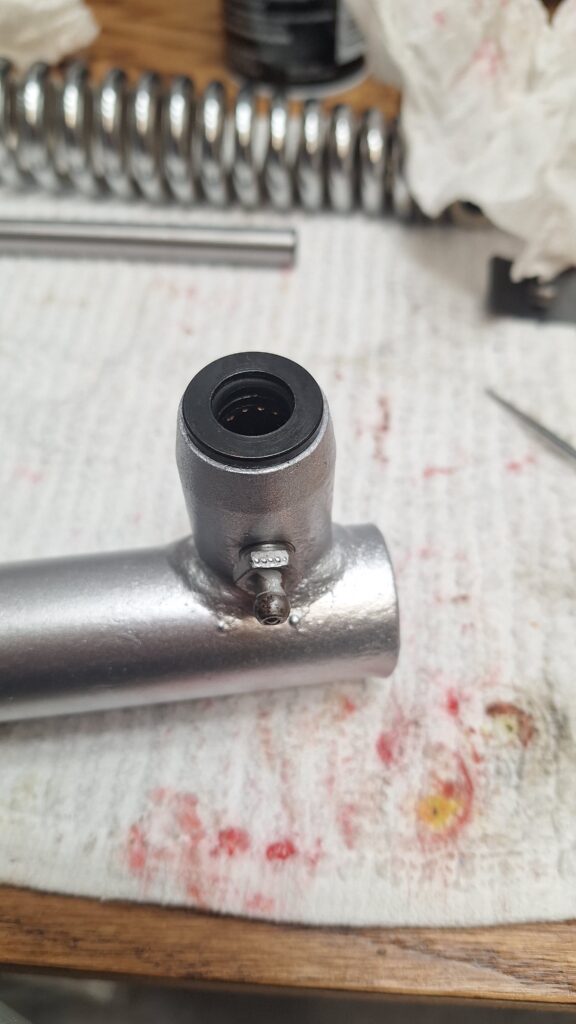
I drifted the axle out with a punch and hammer. You can see the axle with the castle nut in the set of photos below – I just forgot to photograph the removal process. Important note: the speedometer drive must be removed before attempting to remove the axle. The oil seal was severely deformed but popped out easily with a flat screwdriver.
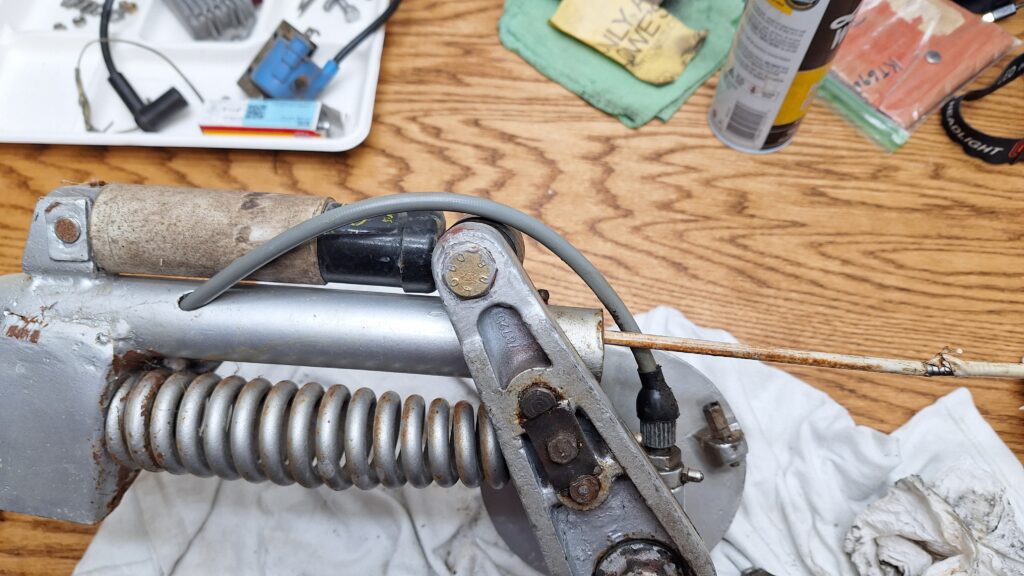
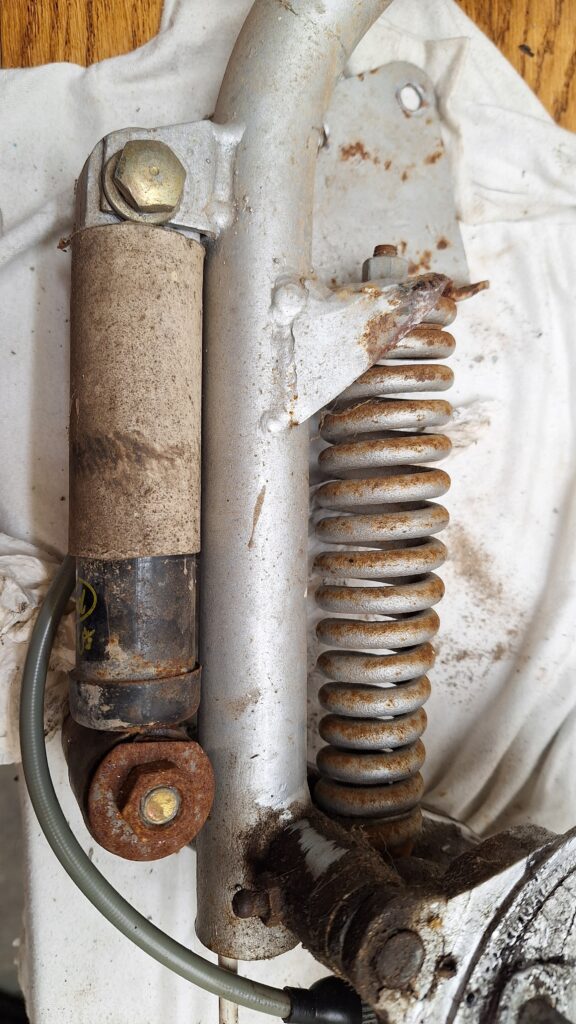
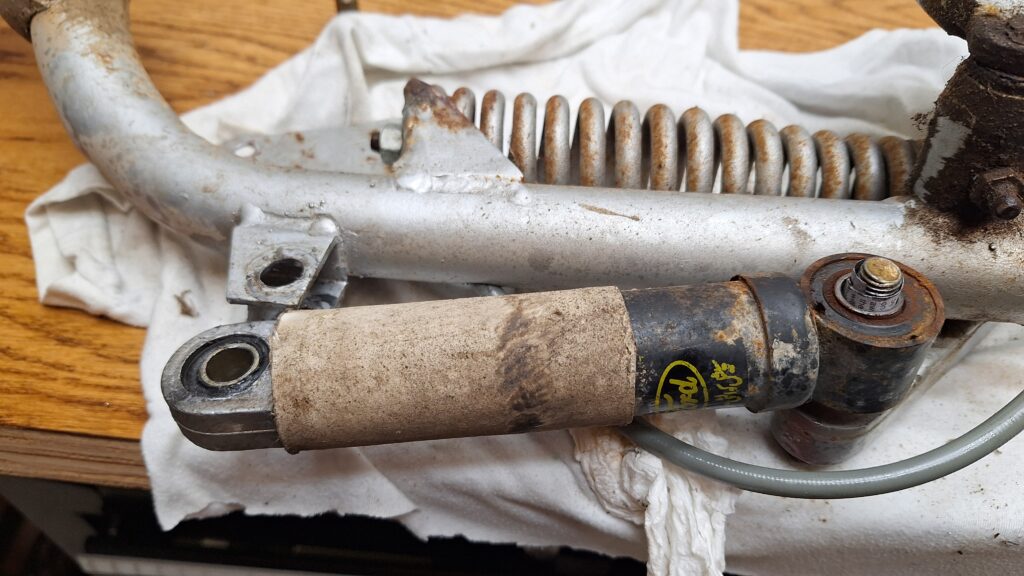
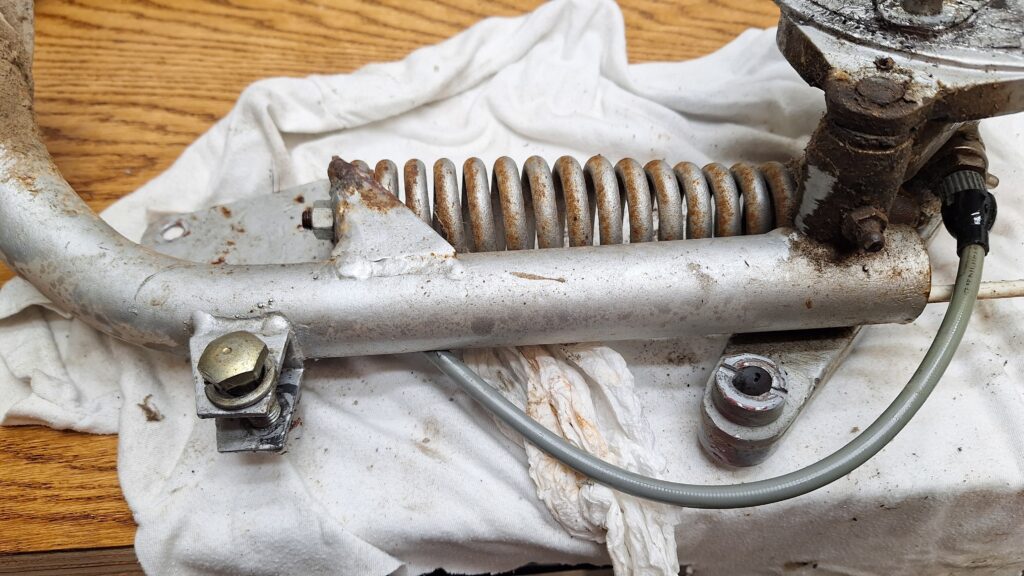
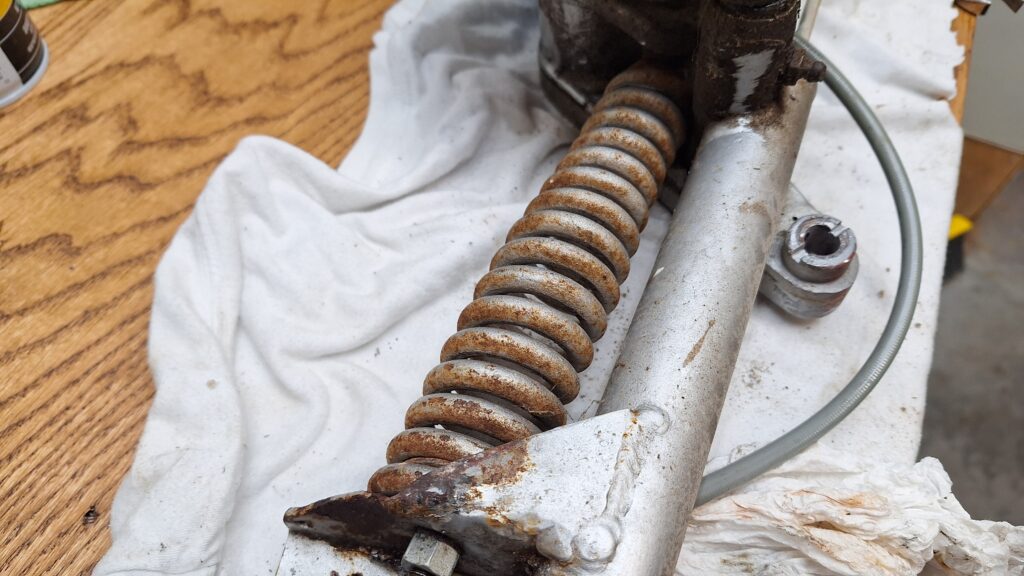
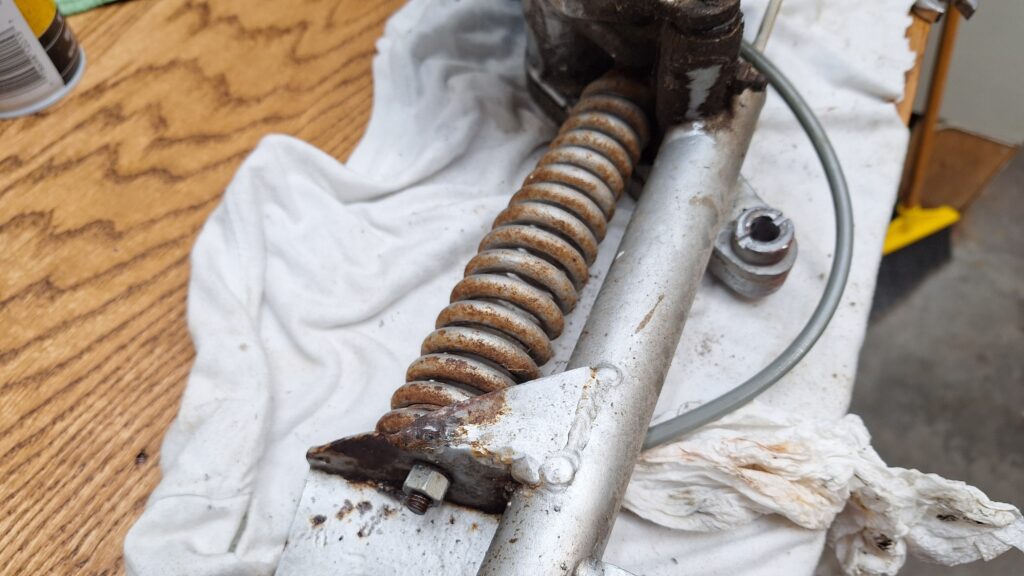
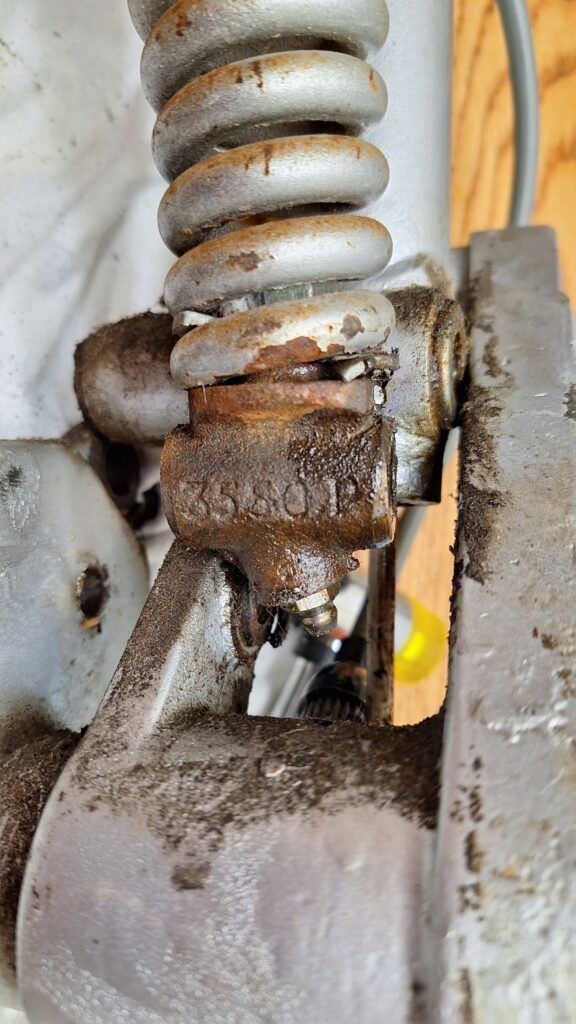
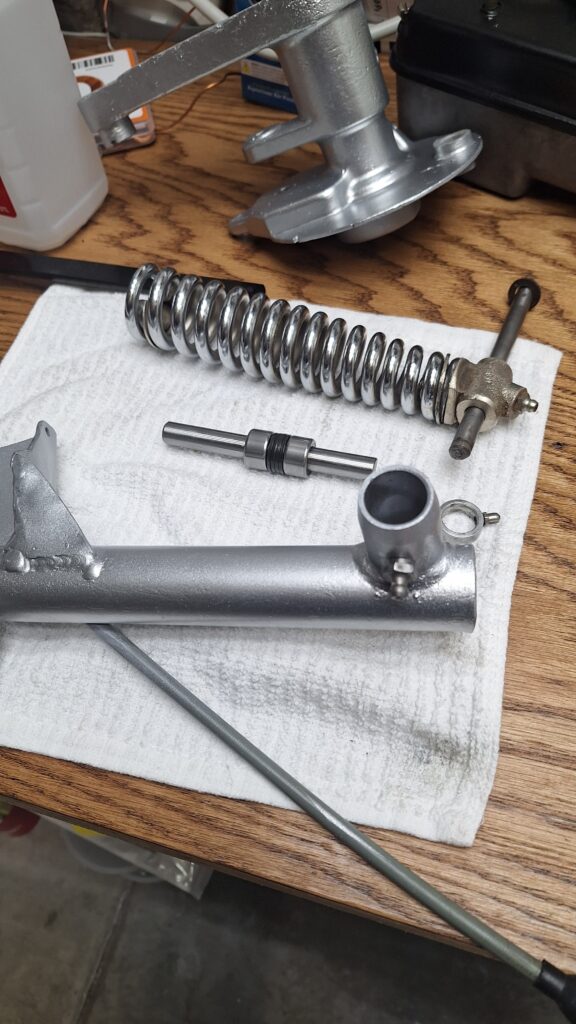
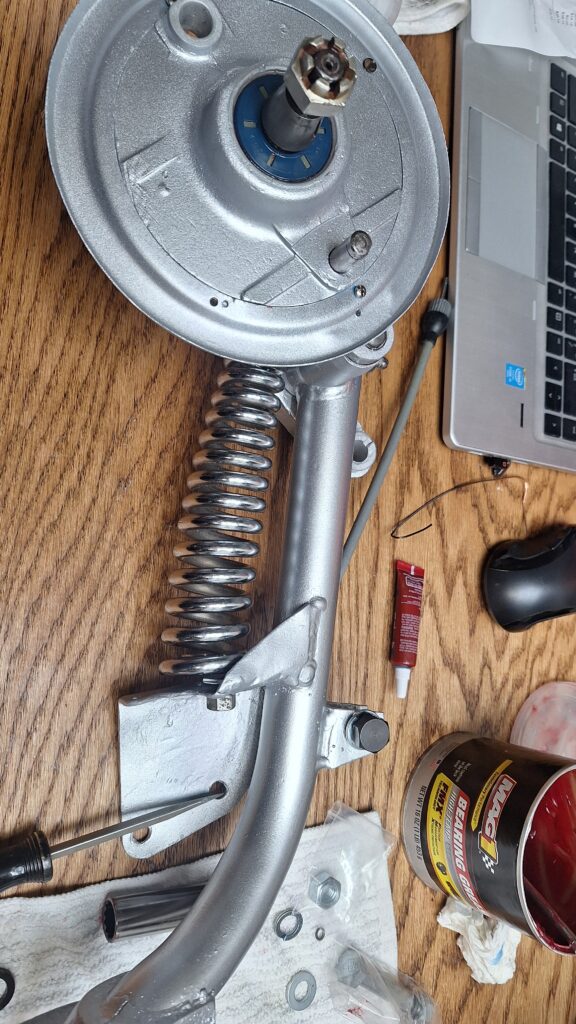
Shock Absorber and Spring
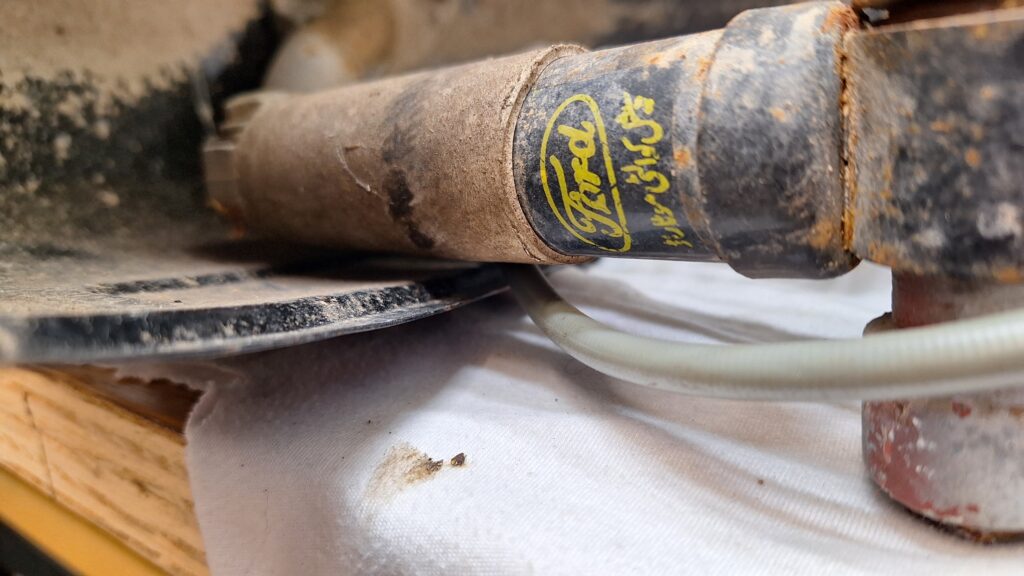
With the penetrating oil having some time to work, I was ready to break down and remove the actual suspension components. The shock absorber was easily accessible and only had 2 bolts securing it. I loosened those with a 17mm socket and wrench and levered it free. Who knew Ford made shocks for Vespa – LOL!!
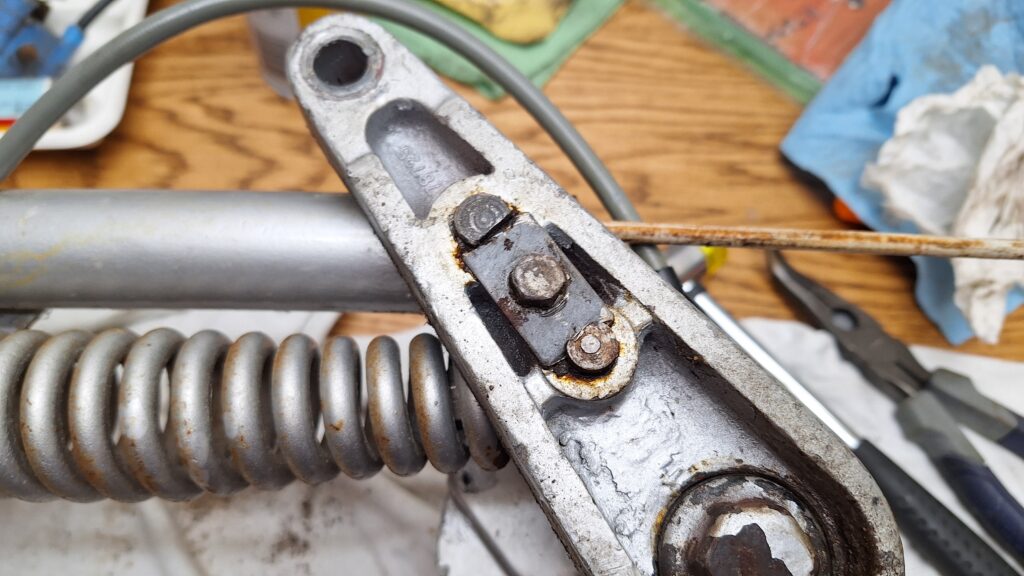
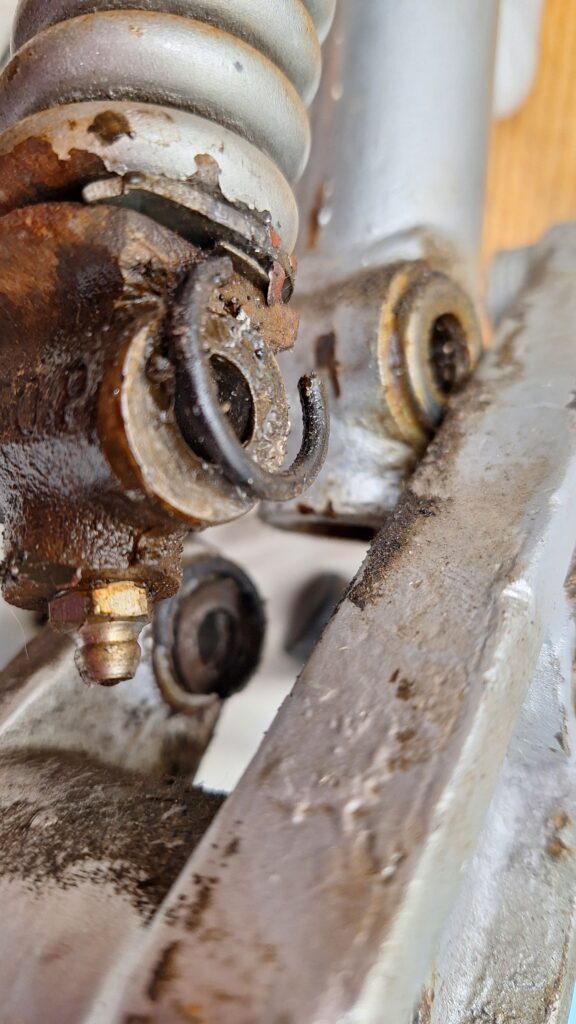
Next was the spring. Two pivot pins that allow the shock and spring to actuate are secured with a fork link spring plate with a single 10mm bolt. With that removed, I used a punch to gently free the pins from decades of dirt and congealed grease that acted like modern day Loctite. With the bottom half of the spring loose, a single nut secured the top of the spring to the steering arm.
Reassembly
It has taken some time to get started again, but I am ready. I did buy a bunch of new components for the front suspension – bearings, seals, a shock, a chrome spring, as well as assorted nuts, bolts and washers, so I figure this is as good a place to start as any,
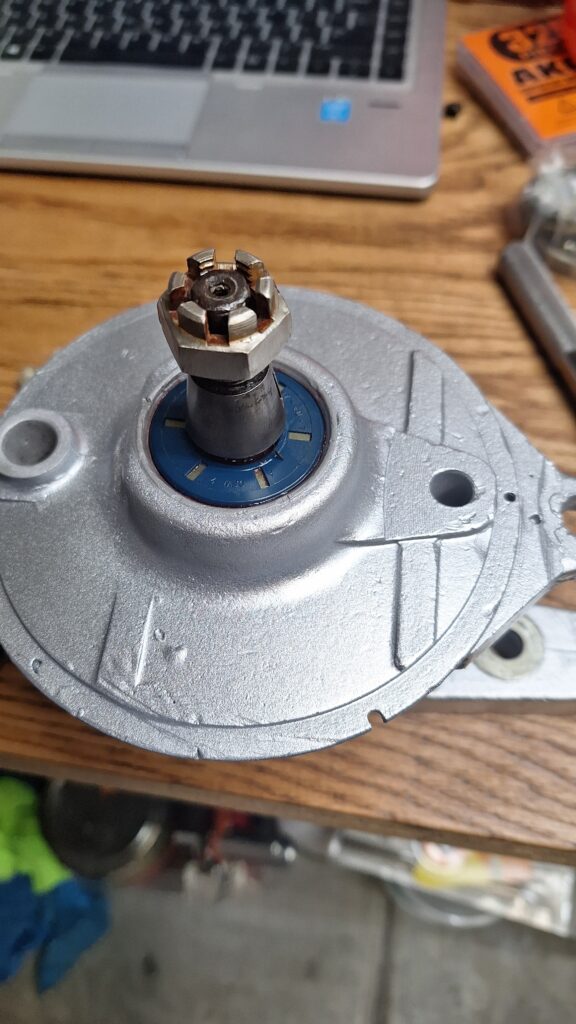
Here is the front hub after media blasting to remove the old finish but before it has fresh paint.
And here is the painted hub with a new oil seal and the main bearing seated.
Here are a few photos of the front hub at various stages of the rebuild process. It was all pretty easy to put back together…except for the spring and shock. That took some creative leveraging to get it bolted back together.


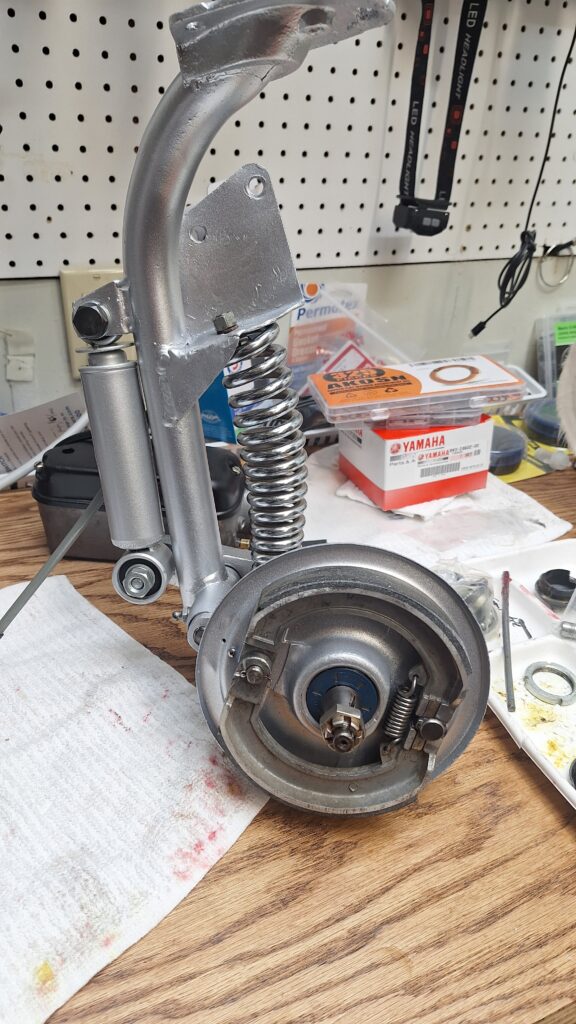
And here is the front wheel/hub assembly back on the frame. It is just missing the new chrome dust cover.
