Confessions of a Hobby-a-holic
It has taken some time to get started again, but I am ready. I will admit that while working through the reassembly, I forgot to take as many photos as I should have. A lot of the work was done at night and I was just “in the zone” so to speak. So while there are pictures, they don’t capture as much of the assembly. Sorry.
Body
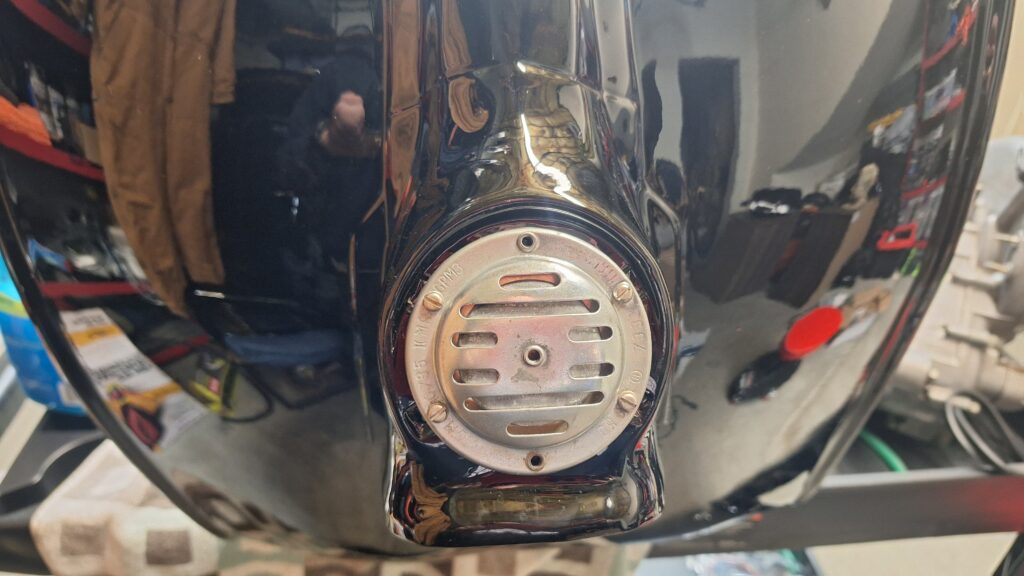
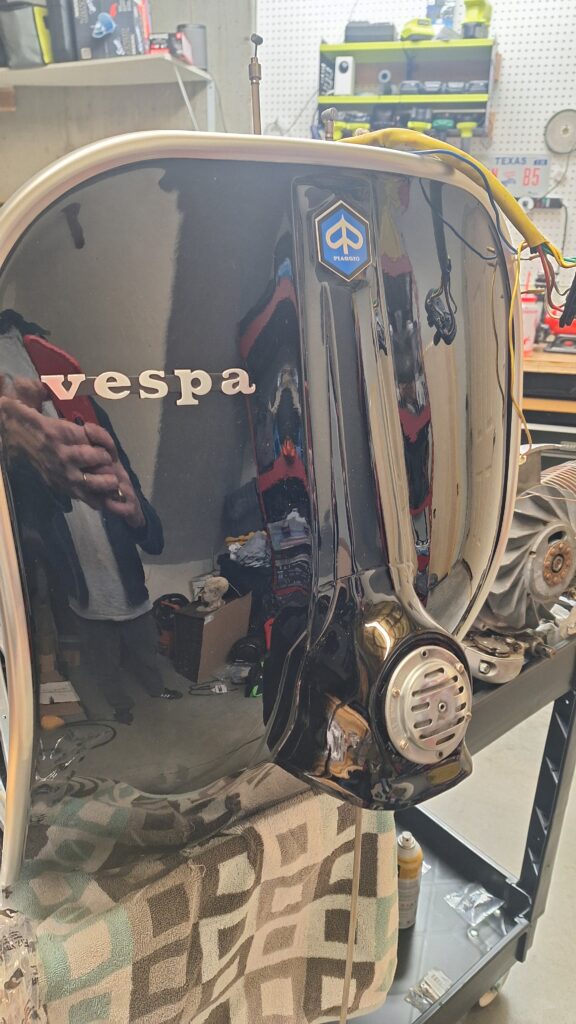
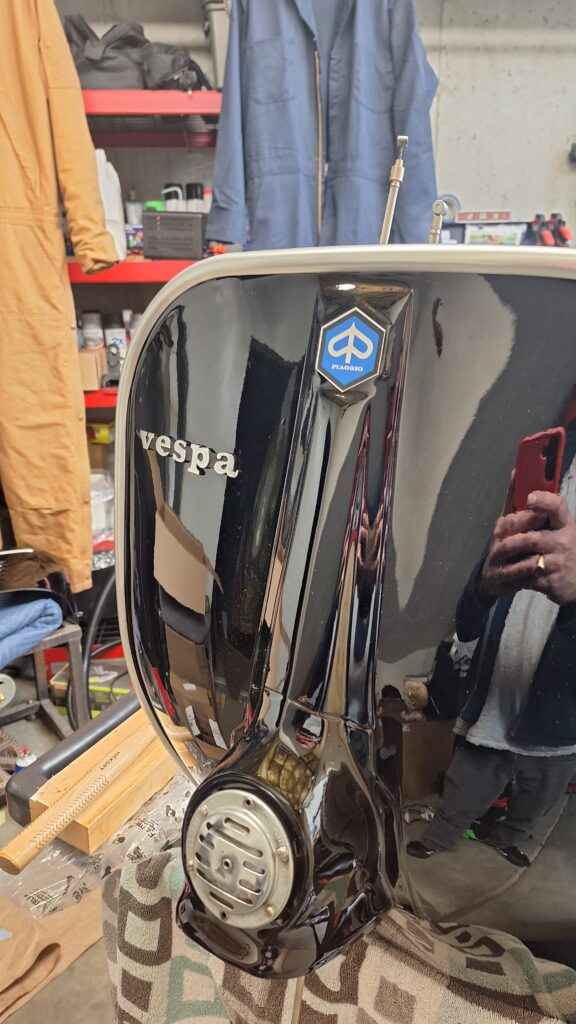
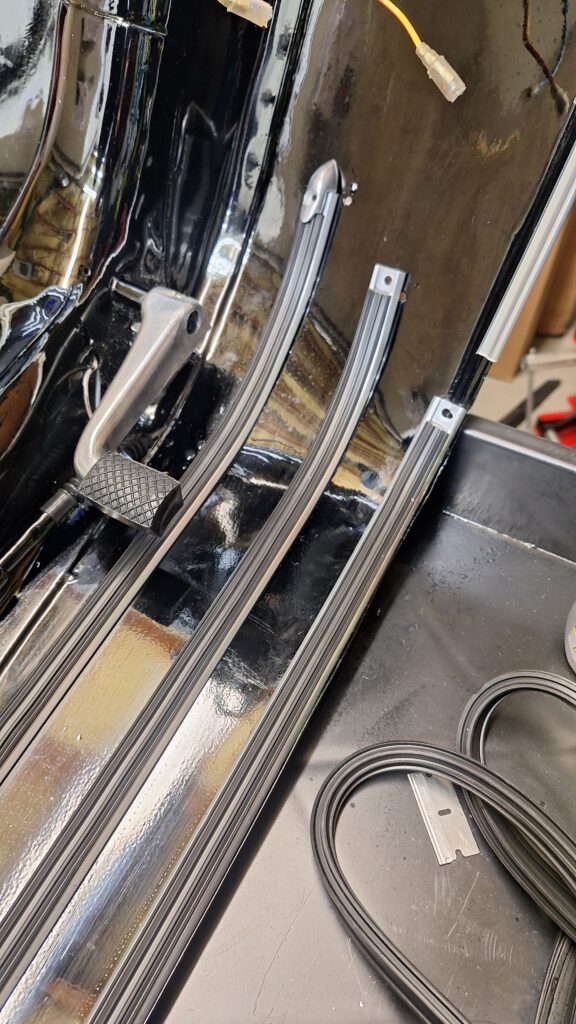
The main body doesn’t have much to it. There is the silver/chrome trim that dresses up the front knee shield, some badging and what turned out to be yet another challenge – the floorboard kit. I made a point to keep everything that came off the scooter or took apart so that I had it for reference…well, everything except the aluminum floorboard pieces. It wasn’t the end of the world, but it did add hours of unnecessary work for me.
Here are a few photos of the front of the body with said items installed.

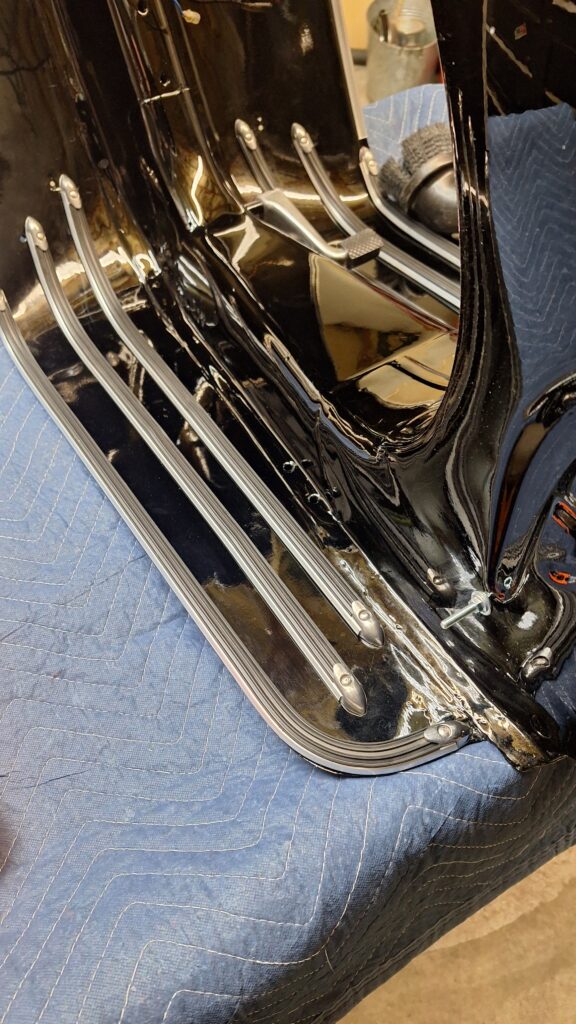

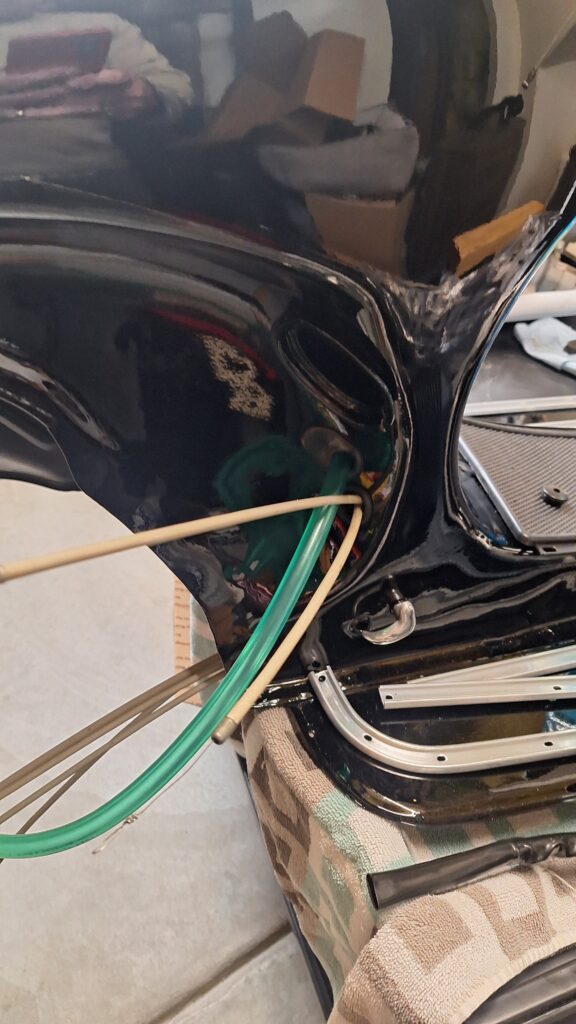
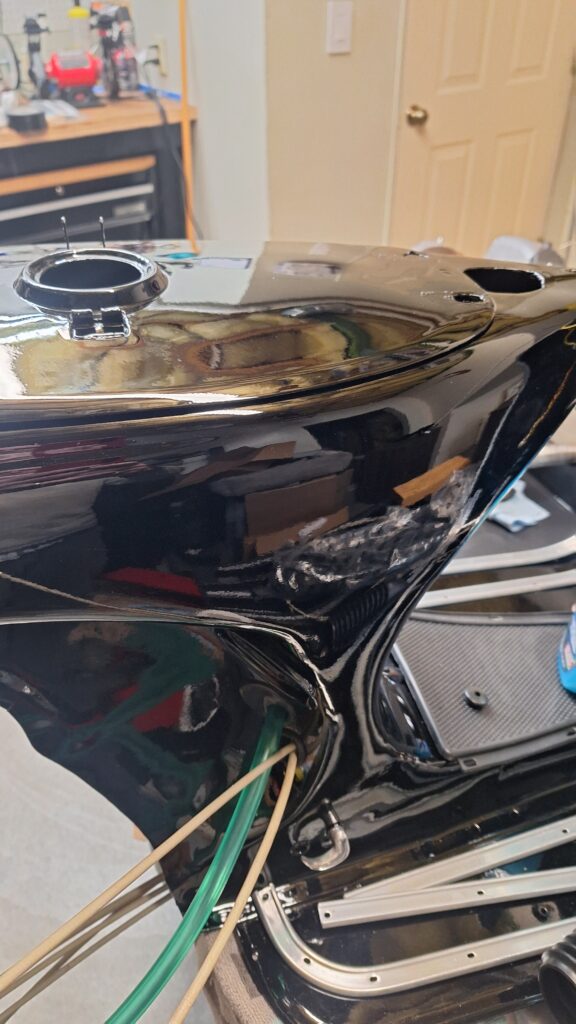
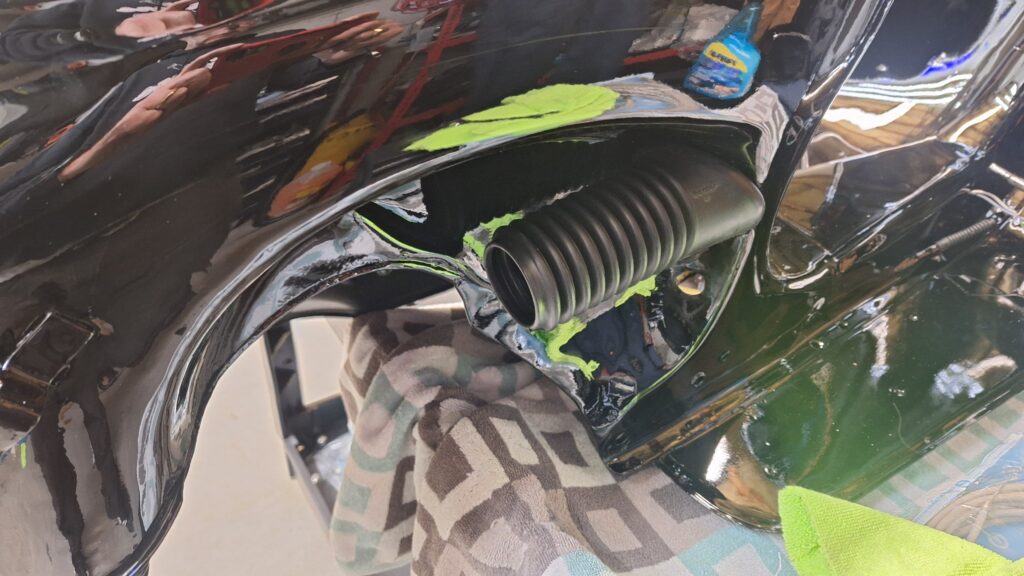
The left cowl on the rear of the scooter is held on with 6 bolts that are semi-permanently attached to the body. I sourced new, stainless hardware since the originals were a bit rusty after 50 years. You can see them in the picture below.
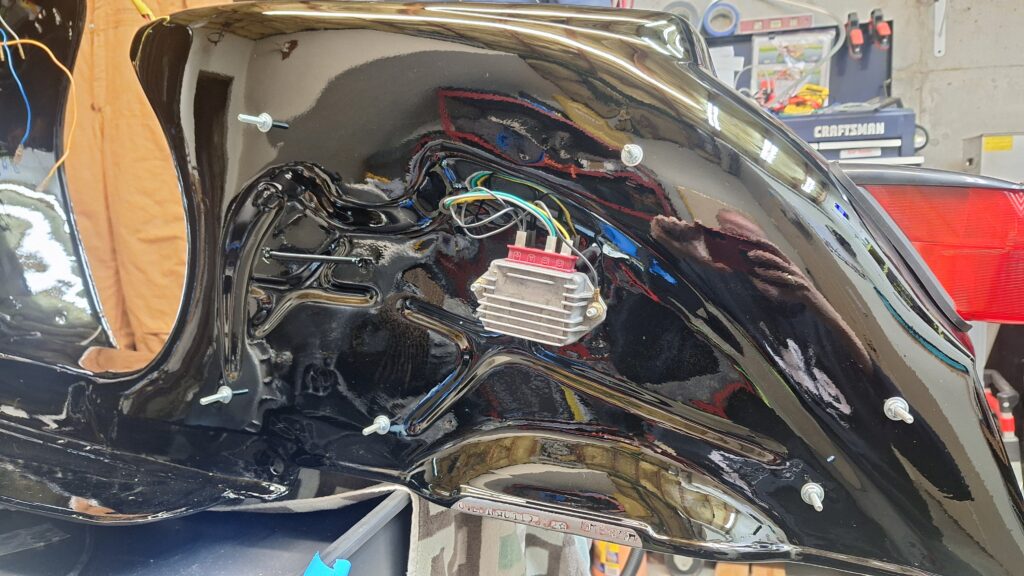
You can also see the VIN in the bottom center of the photo above. I asked Monty to strip the paint in that area, mask it off while he shot the black, and then unmask it before shooting the clear coat. The result is a clearly visible VIN that is not made illegible if excess paint fills the stamped letters and numbers. Proud of that bit of foresight!
Front Suspension and Hub
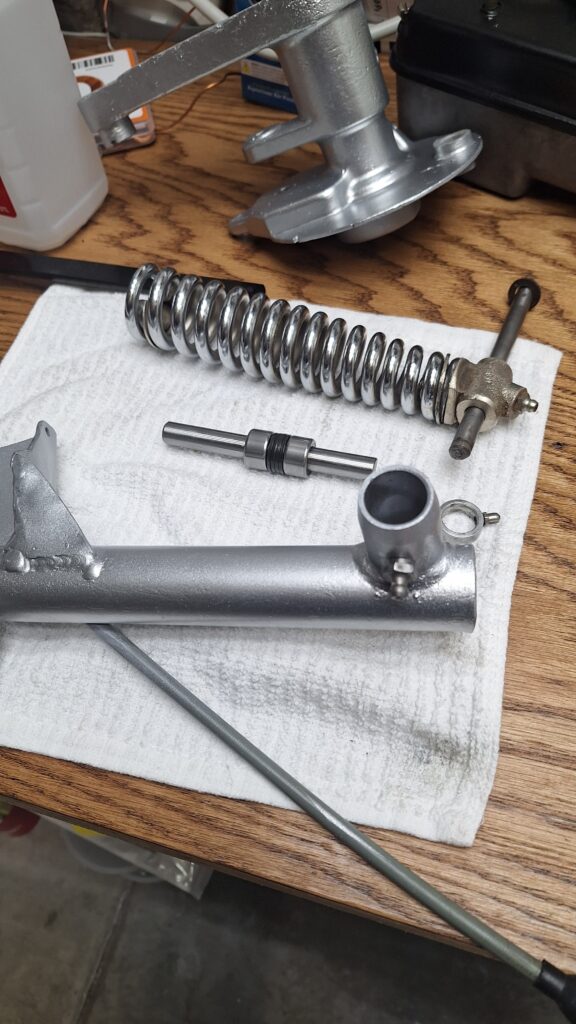
I did buy a bunch of new components for the front suspension – bearings, seals, a shock, a chrome spring, as well as assorted nuts, bolts and washers.
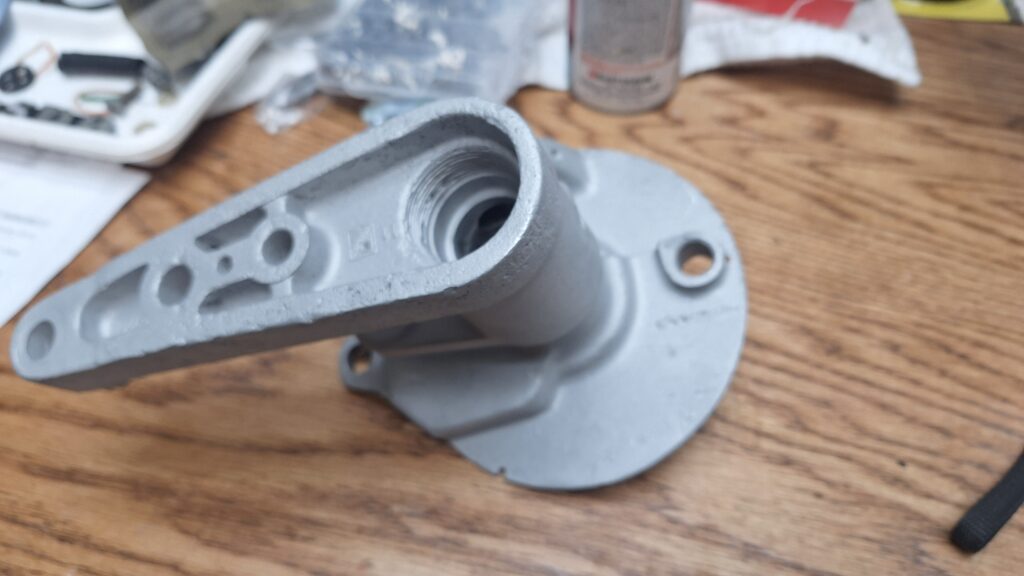
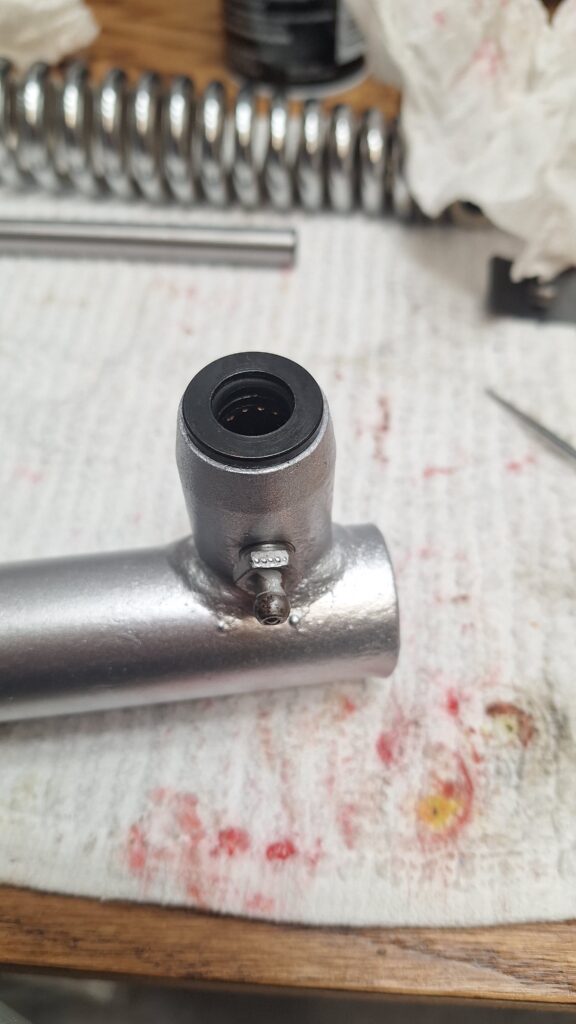
Here is the front hub after media blasting to remove the old finish but before it has fresh paint.
And here is the painted hub with a new oil seal and the main bearing seated.
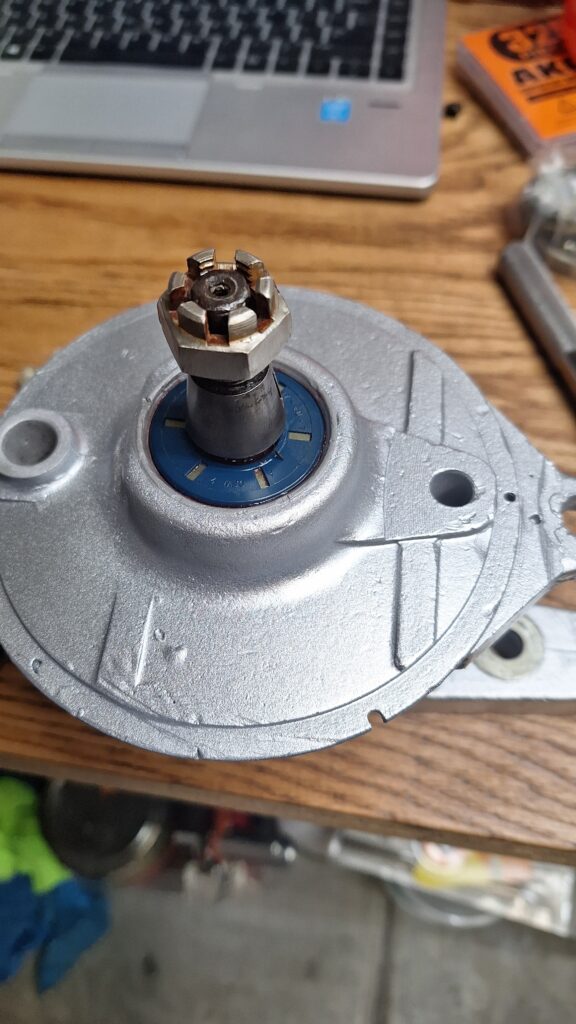
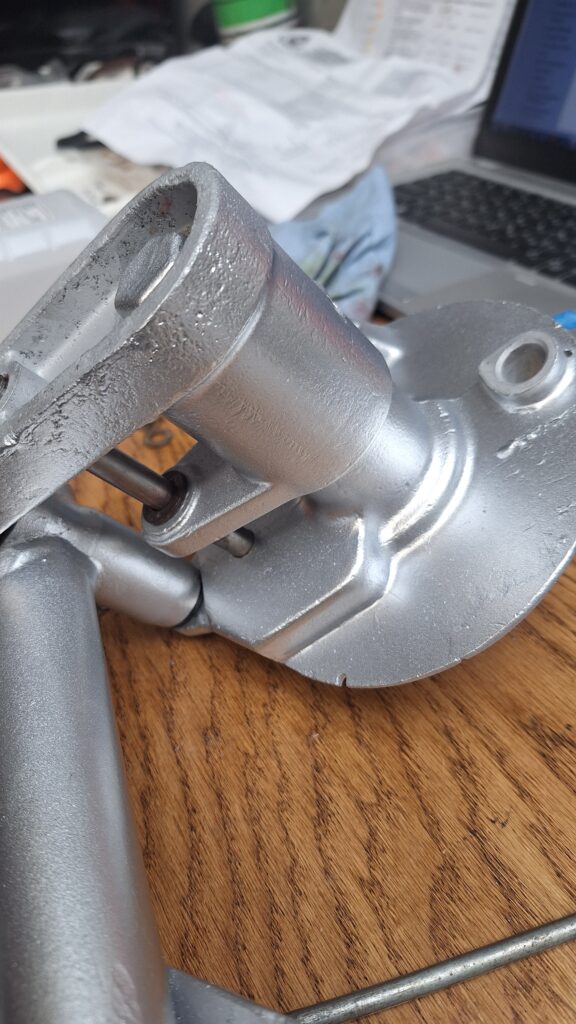
Here are a few photos of the front hub at various stages of the rebuild process. It was all pretty easy to put back together…except for the spring and shock. That took some creative leveraging to get it bolted back together.

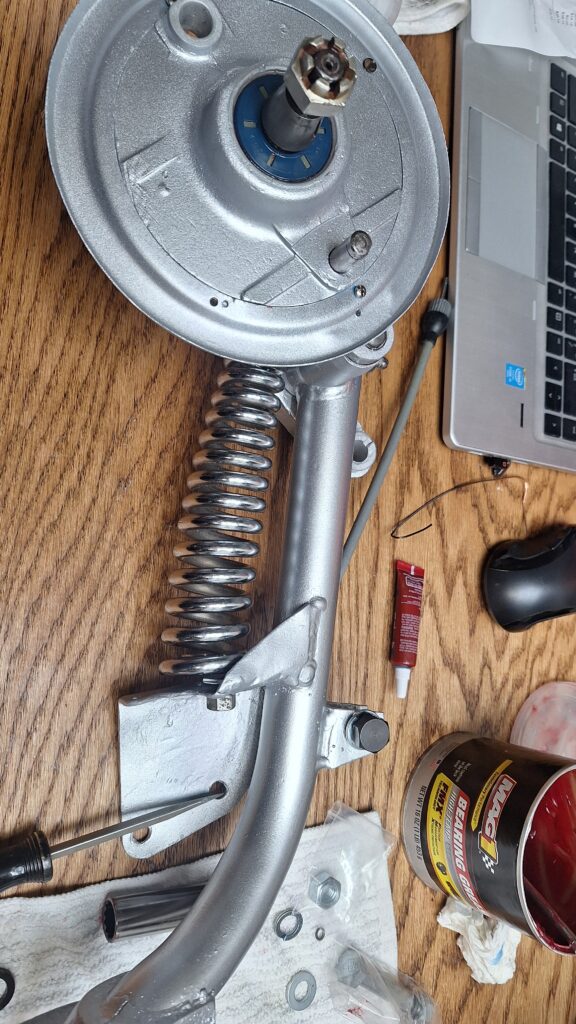

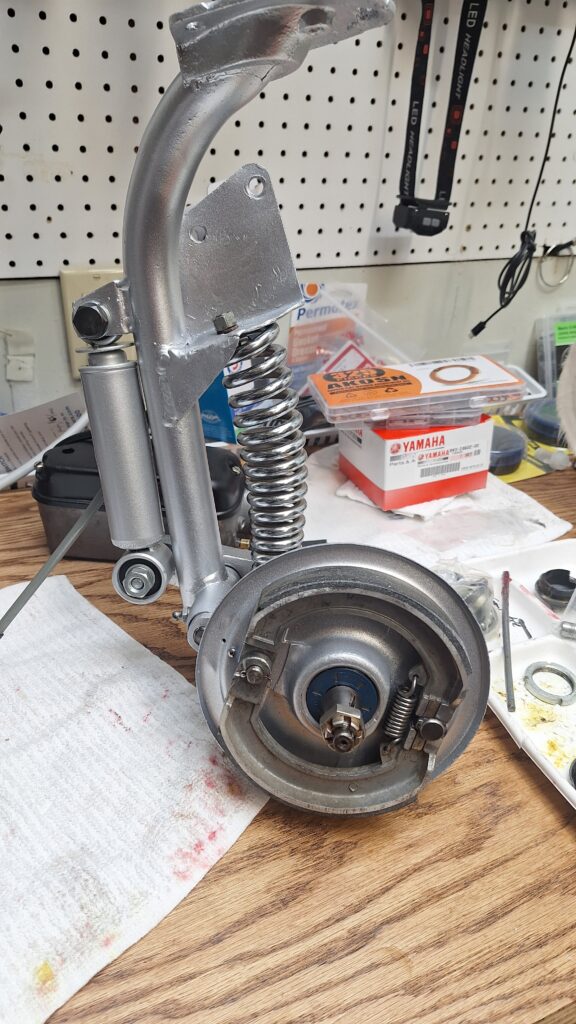
And here is the front wheel/hub assembly back on the scooter and with a new front tire.

Cables and Electrical
The experts say that if you are rebuilding a Vespa, then it is wise to spend another $40 for a new set of cables – front and rear brakes, throttle cable, choke cable, clutch cable and two shifter cables. I may not be that wise, but I followed the advice and a complete new set of cables was purchased. It is actually very easy to run cables, so there really isn’t much to show. And as far as the electrical is concerned, I left the wiring harness taped up and tucked away in the frame for the paint and body work.
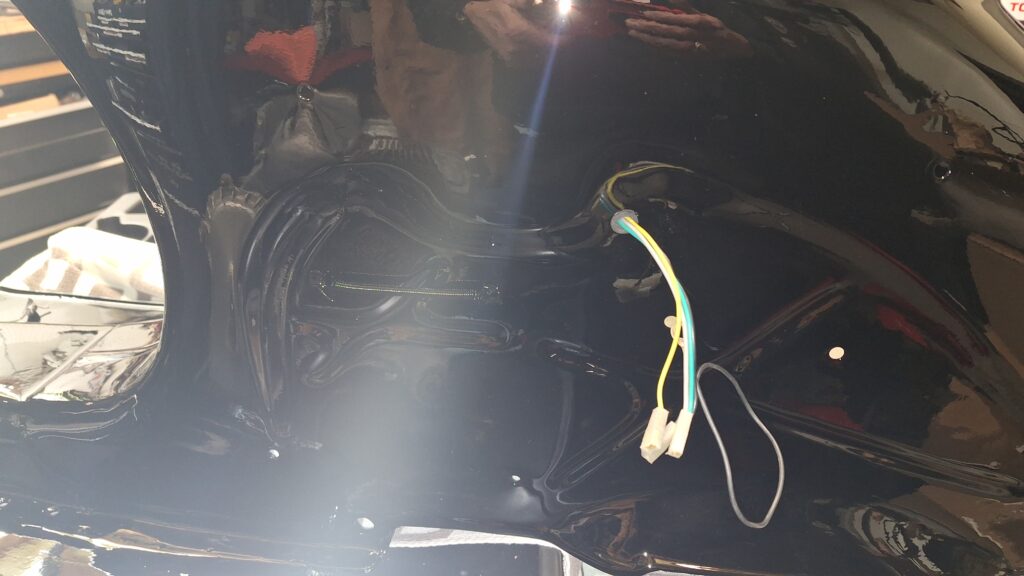

I was able to source a new tail light assembly with the proper visor and lens. Two bolts and three wires – piece of cake, but a nice looking piece of cake that really sets of the rear end!
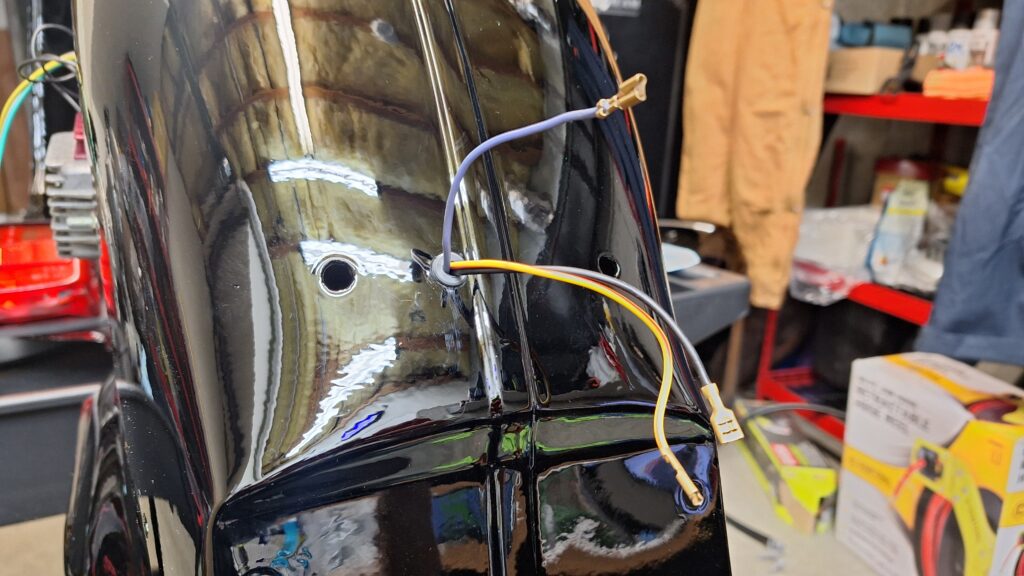
Three wires pulled through a new grommet to prevent chafing.

New rubber gasket and a festoon style bulb for the tail light and license plate.
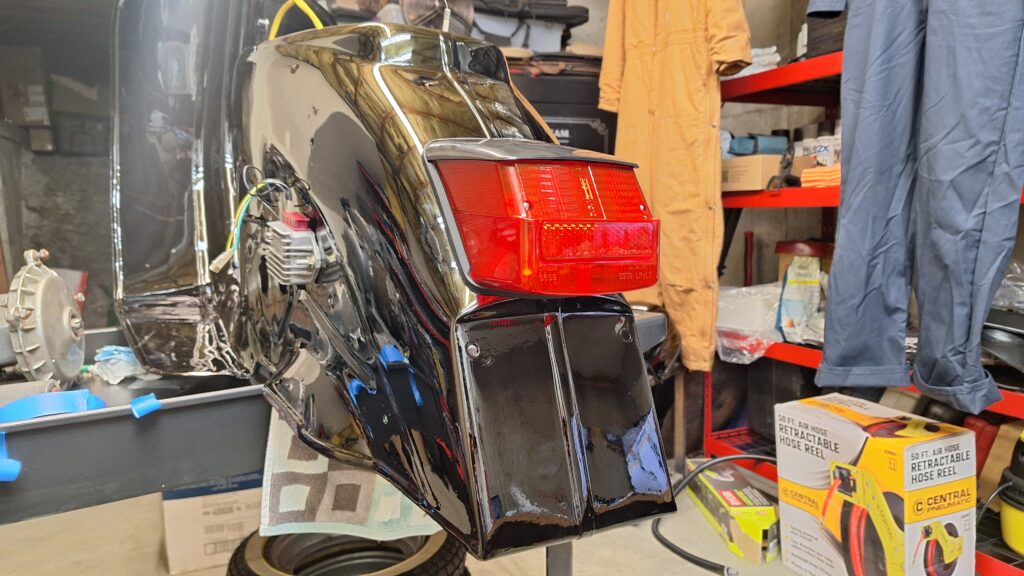
New lens with correct black “visor” over the top.
Engine Install
I may regret this after I get a few miles on the tires, but I did not rebuild the engine. Upon disassembly, I cleaned and inspected the engine. The compression was good, there was no detectible play in the crankshaft, I didn’t see a need. Again, I may regret this at some point, but for now, the motor is going in.
Here is a photo of the engine bay from the right side while the frame is still on a cart. The front fork and wheel aren’t installed yet, but this provides a bit of before and after.
Two bolts is all it takes. One big one in the front of the engine that acts as a hinge point, and a smaller one in the rear that is connected to the rear shock and spring assembly. It came out of the frame easier than it went it, but it wasn’t too hard.
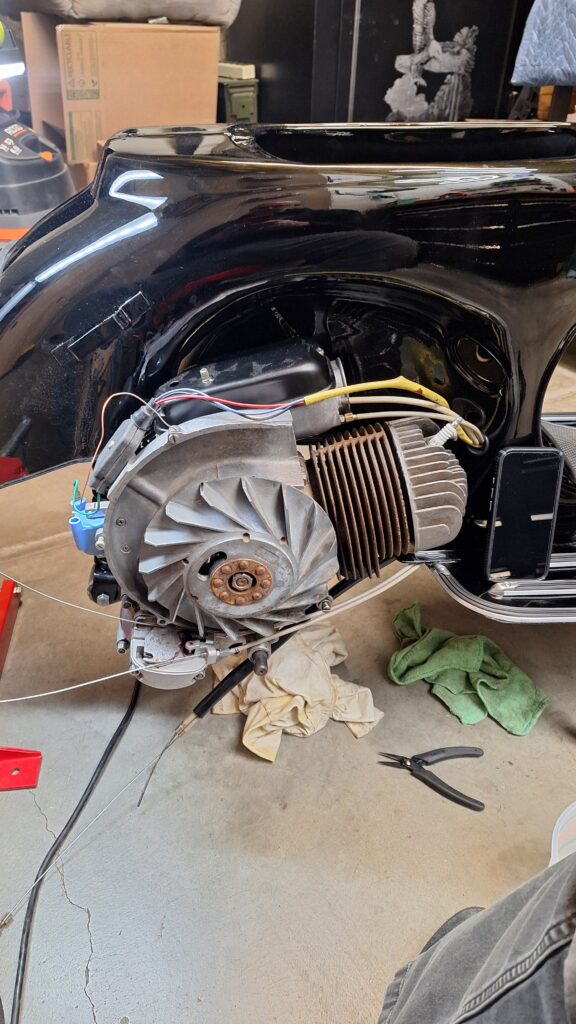
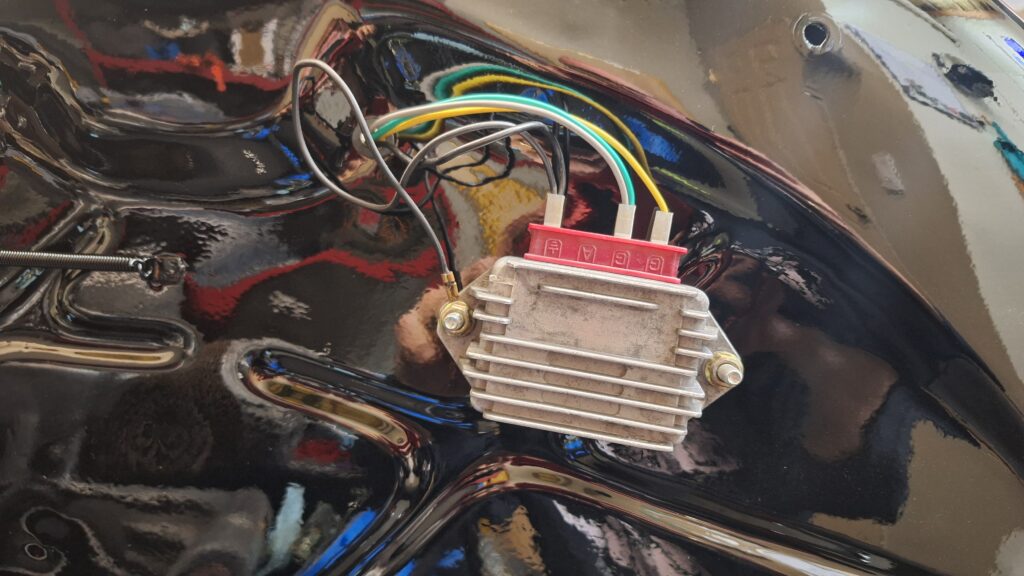
So again, a bit out of order, but the engine is installed, the carburetor is mounted, the shifter assembly and associated cables are in place, and the electrical connections have been made.
Unless you are a Vespa aficionado, you wouldn’t know that this model year does not have a keyed ignition switch – all it has is a lock for the steering column. It was later in the 70’s before a keyed ignition was added as an anti-theft device. Not pictured here (for obvious reasons), is a hidden kill switch that will prevent the scooter from being started. That kill switch is in a locked compartment so that the only way to steal it from the grocery store parking lot would be to pick it up and put it in a truck or a van. Let’s hope that doesn’t happen.
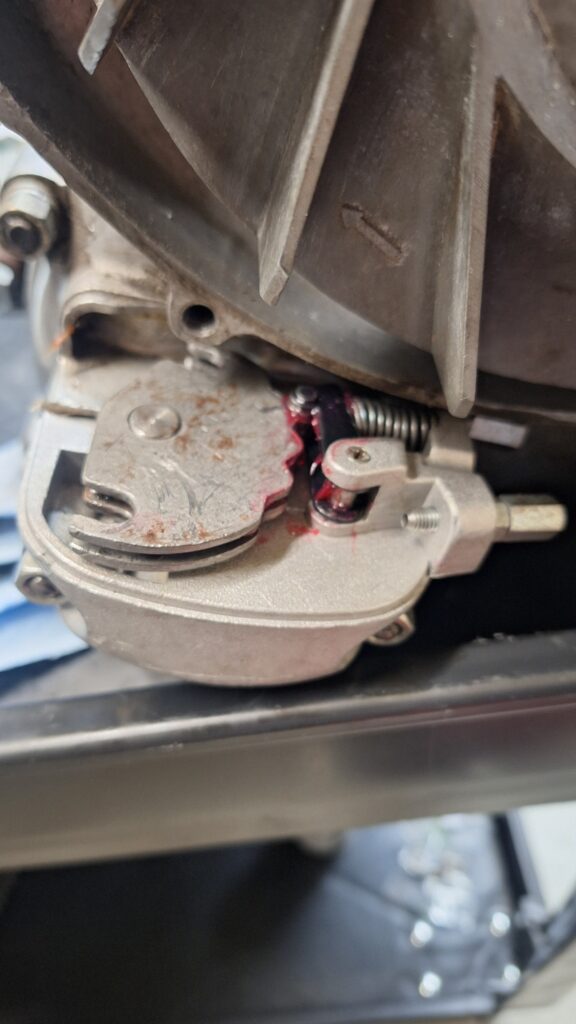
You may also notice that the black “heat shield” shown is incorrectly installed. It should go on the shifter cables, and not on the brake and clutch cabled. (That was corrected after this photo was taken.)
more to come…